AV Guides, Console Guides, Howto & Guides
Solving the Dreamcast’s Video Cable Conundrum
Updated 25/11/24 – The original article made it sound like the DCDigital/RetroGEM performed VGA ‘patching’ itself, this isn’t the case and patched games or other methods will still be required to force VGA mode in some instances.
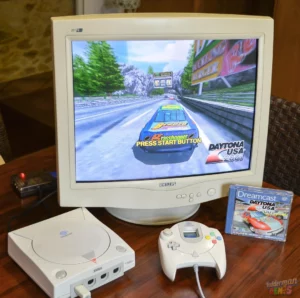
The Dreamcast was, in many ways, a forward thinking console. A powerful but straightforward architecture with four controller ports, online capabilities as standard and support for progressive scan (480p) video modes on a large chunk of the consoles library.
Unlike the PS2 and the Xbox, Sega opted to use VGA output rather than component video. This let the consoles bright visuals really shine on the many good quality VGA CRT computer monitors that were around at the time. Use of VGA has one particular down side though. Unlike televisions, most VGA monitors aren’t capable of displaying 15khz content at all. This means that, if you use a VGA cable with your Dreamcast (which is essential for getting the best image on a modern, fixed resolution display), you effectively lock your self out of a good chunk of the systems library. “This game doesn’t support the AV cable that is currently connected to the main console”, is the dreaded message that VGA box users would always hate to see. Workarounds exist for some games, to trick or force them into outputting VGA, but doing so is often fiddly.
The situation gets even more bizarre and frustrating when you discover that, not every game supports SCART either. For reasons that are not entirely clear, some games will not start when your Dreamcast is connected via RGB SCART. This means that, even if you elect to play the consoles library on a 15khz display in 240p and 480i, you still cannot play every game, unless perhaps you connect an S-video cable instead of RGB.
Explaining every quirk of the Dreamcast’s video output would take a whole article and we’re already four paragraphs in. Suffice to say that, until now, there’s no way to play the consoles entire library, with the best quality video cables, without having to swap or switch cables at some point. This situation was frustrating, time consuming and, of course, potentially hazardous to the health of the console, since repeated swapping of cables will cause wear and tear on the video port.
One Video Cable to Rule Them All
If you are a fan of the Dreamcast you have probably at the very least heard of the DCDigital/RetoGEM DC modification. This after market hardware mod fits internally to your Sega Dreamcast and enhances the console with its own modern, digital video output. PixelFX recently updated the firmware on these boards to add some fantastic new features, which have some significant ramifications for all Dreamcast fans. For the first time in Dreamcast gaming history, no matter what kind of display setup you are using, you can now use original hardware to play the consoles entire library with one video cable, in the best possible video output quality.
Note that you must have a DCDigital HW2 or RetroGEM DC for these techniques to work. You must also have at least firmware version 3.7.30.x. As of writing this firmware is still on the testing/experimental branch, though we’re reliably informed that a release onto the stable channel is imminent.
DCDigital Settings
Initially, with Sega’s own Dreamcast VGA box, switching between VGA and 15khz modes required the user to physically swap cables. After market cables with a manual mode switch became available later, but this still means fumbling around at the back of the console to flip a physical switch.
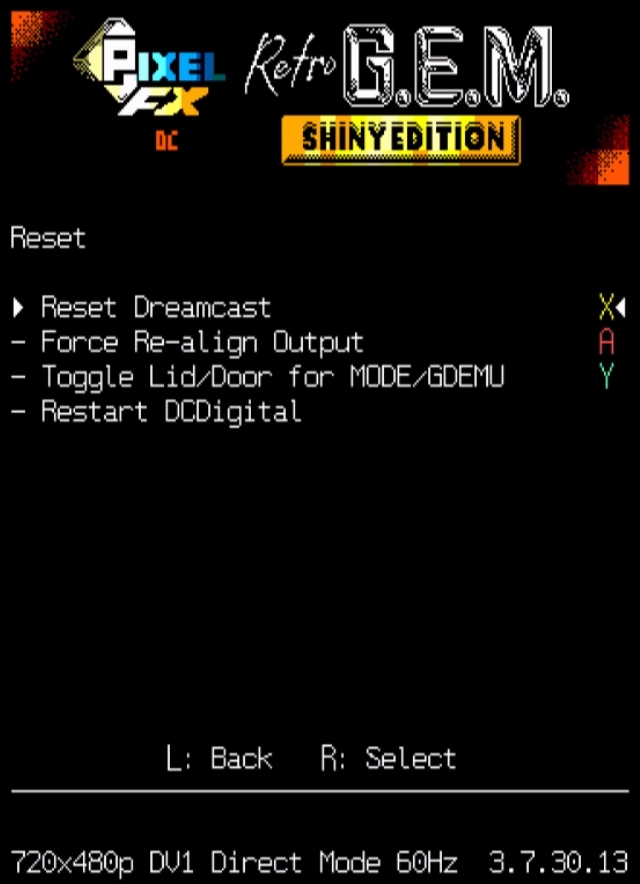
The RetroGEM/DCDigital makes this process much more convenient by presenting this option on its own on-screen menu. To find this option, open the DCDigital’s on screen menu (LT + RT + A + B + Start) and navigate to System/DCDigital settings.
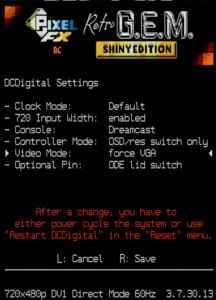
The key setting here is “Video Mode”. This can be set to “force VGA” or “cable detect”. If you have no analogue video cable connected to the console, then choosing “cable detect” will put your Dreamcast into 15khz mode.
Leaving the console in “force VGA” mode will start all games in VGA mode. Any game that’s VGA compatible (even ones which normally need to be forced somehow) will start in VGA/progressive scan mode, which works much better on a modern display. Note that a patched version of the game or similar method may be required if VGA mode wasn’t originally supported by the software title.
Should you encounter a game which isn’t compatible with VGA mode, it’s only a matter of using the OSD to change the console into “cable detect” mode and then restarting the Dreamcast (which can also be done from the on-screen menu). Your games will now start in either interlace or 240p progressive.
Another couple of settings worth mentioning in this menu are “720 Input Width” which, when enabled, corrects the Dreamcast’s slightly too narrow aspect ratio and “Clock Mode”. Setting this option to “MagiClock” will enable the game Hydro Thunder to run in VGA mode.
All you need to do now is configure the rest of the device depending on how you want to use your DCDigital/GEM. We’ve provided some examples below.
I connect directly to a HDTV
DCDigital/GEM has a built in scaler and can output a variety of upscaled resolutions directly to your HDTV. Choose the output resolution that looks best to you, there’s no right or wrong answer here.
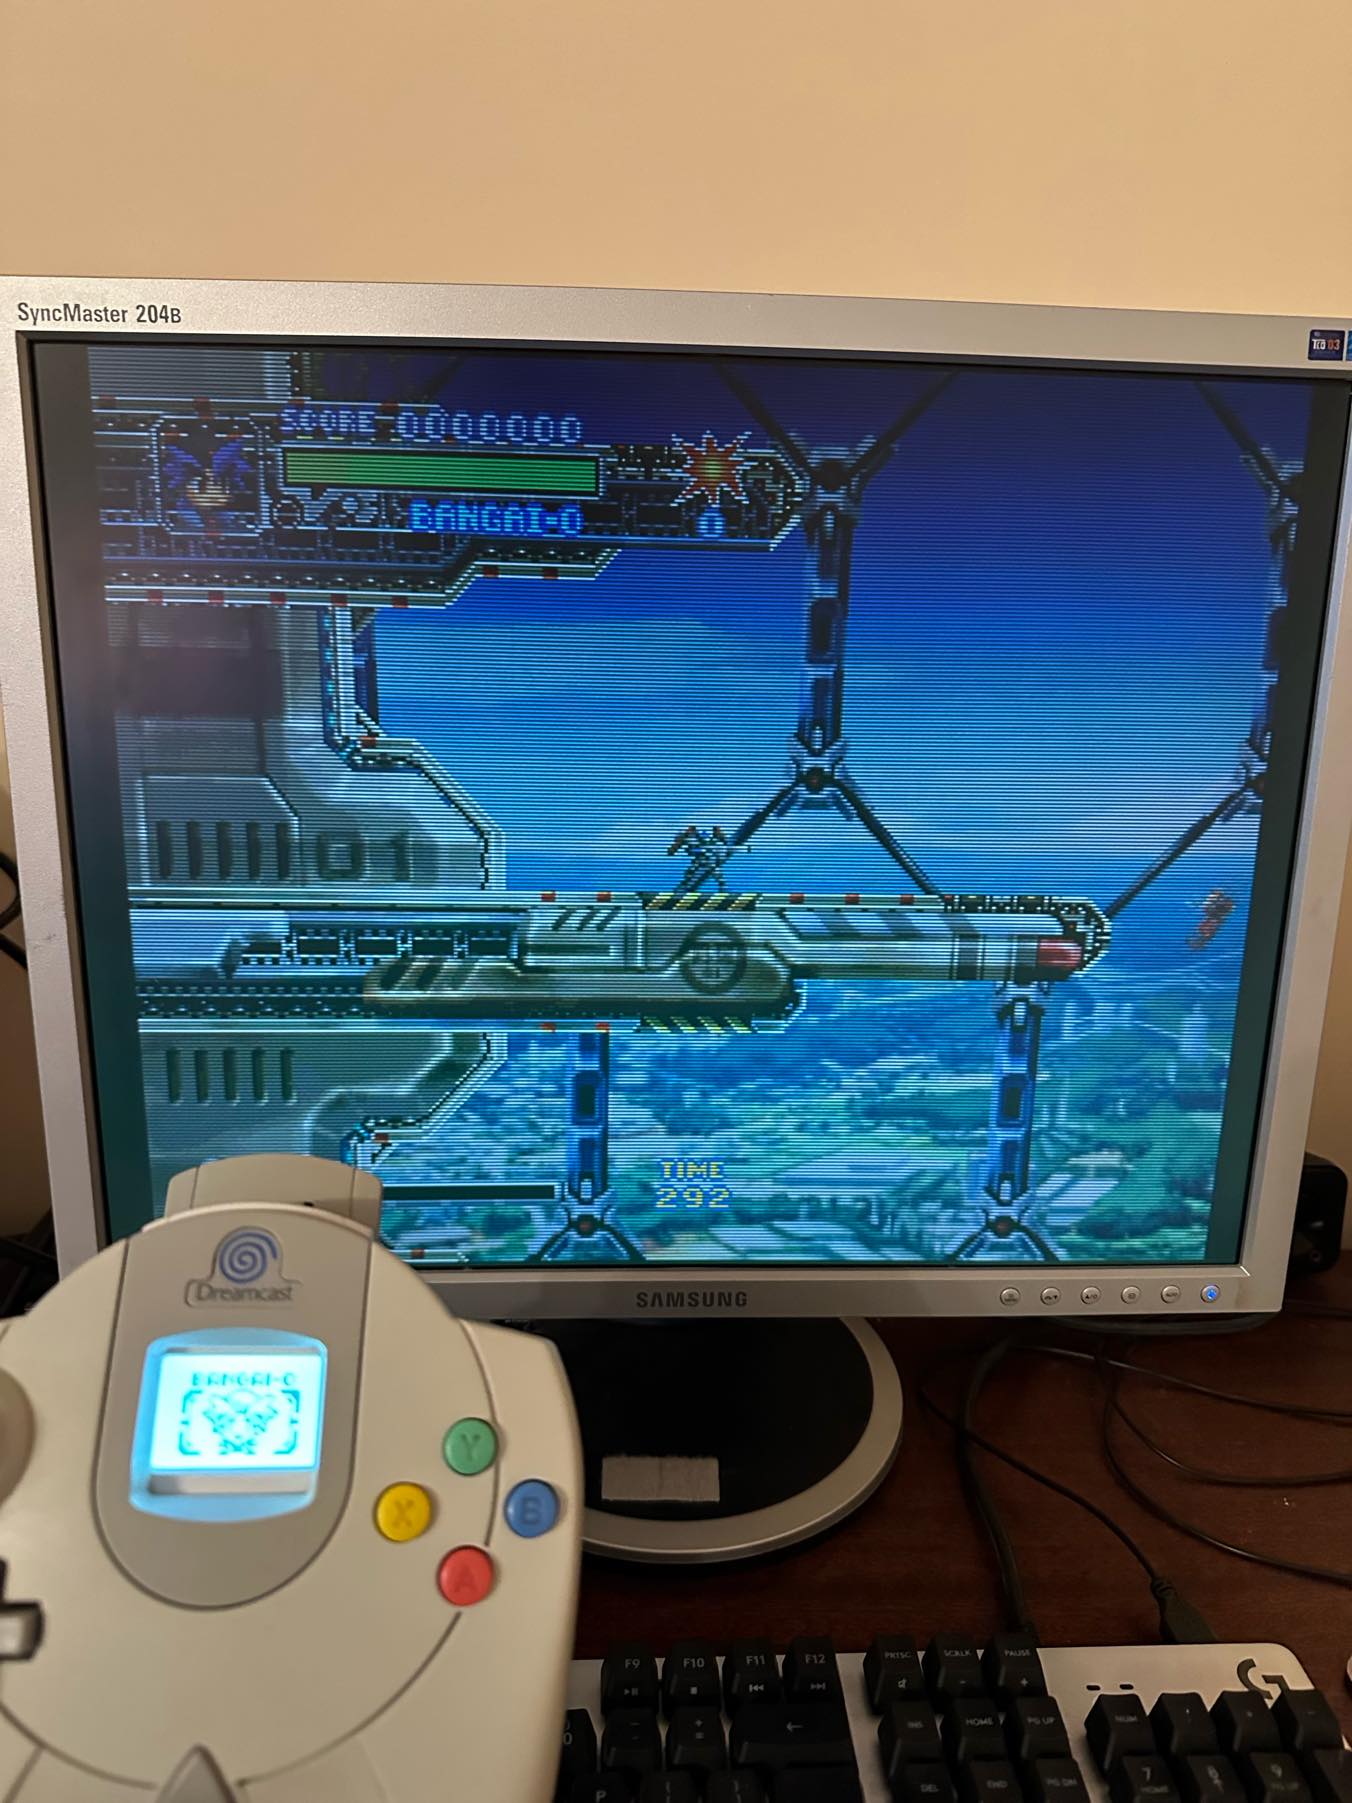
For any games that aren’t compatible with VGA mode, you can set the console to “cable detect”. DCDigital has its own motion adaptive deinterlacer (which also saw some significant improvements in recent updates) that will handle the consoles interlace output and produce a crisp flicker free deinterlaced image. Games which run in 240p mode, such as Bangai-O, will be scaled to your chosen output resolution and can also have scanlines and other effects applied to them if desired.
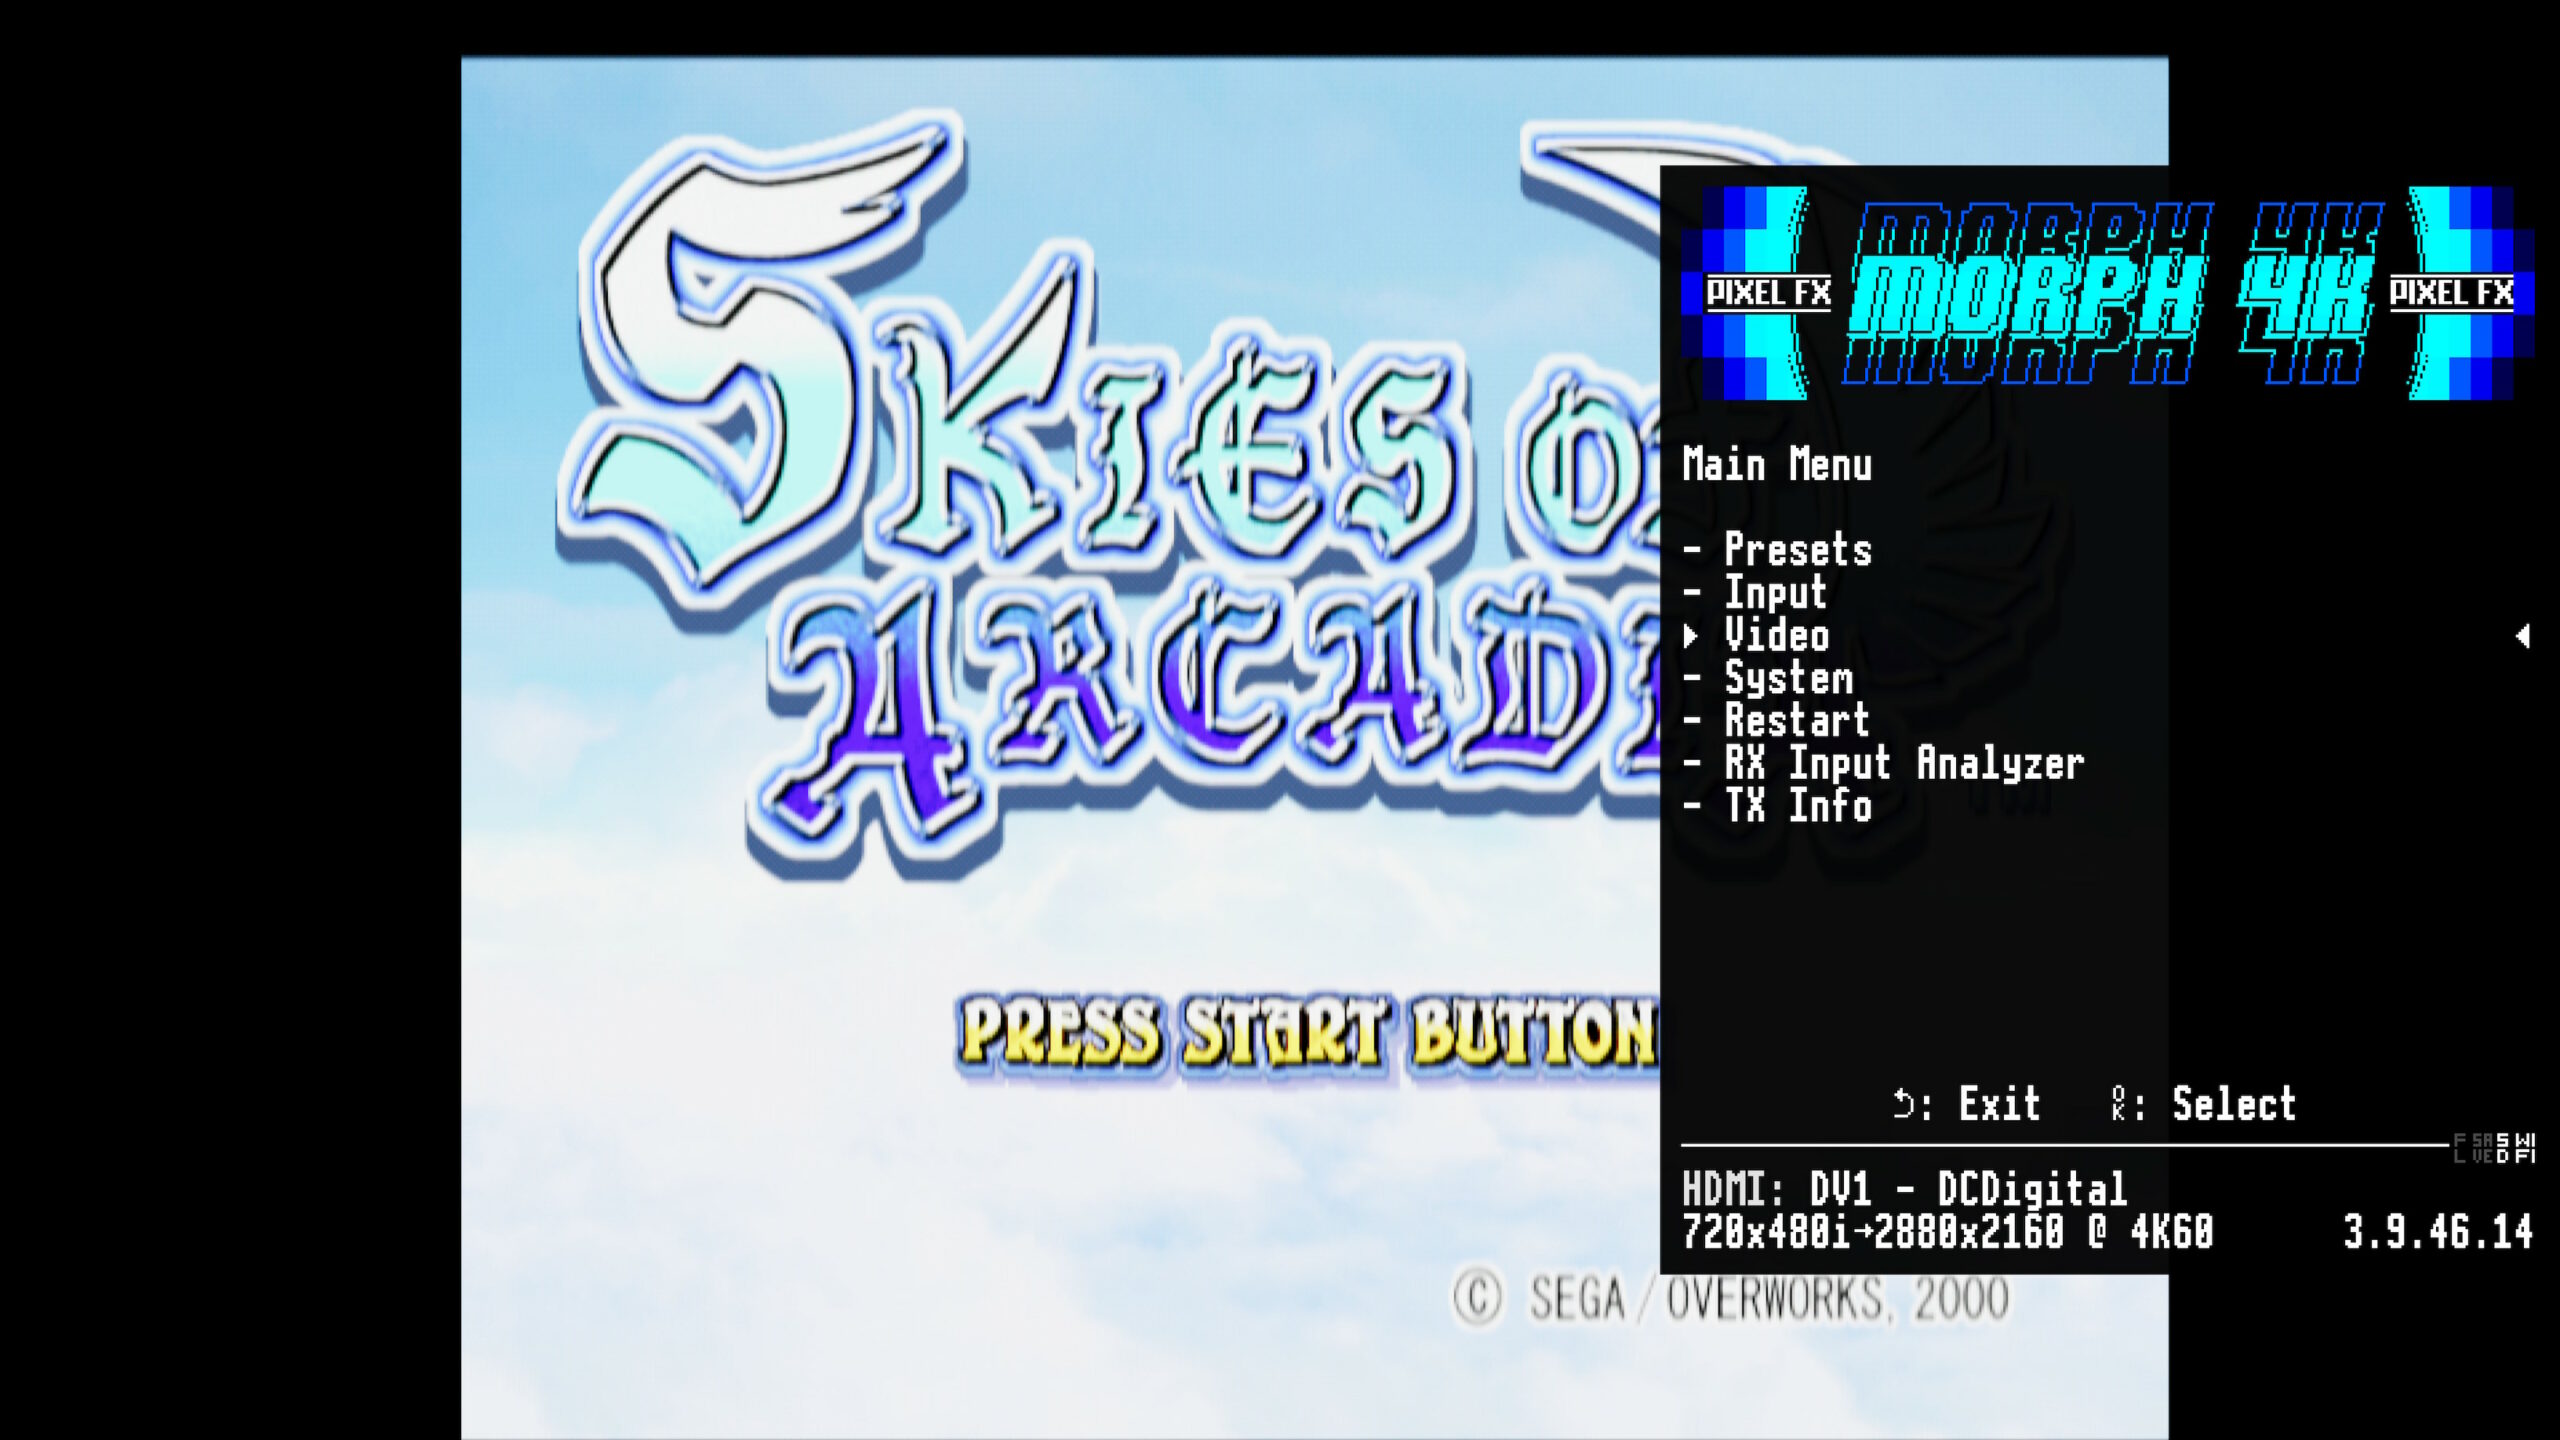
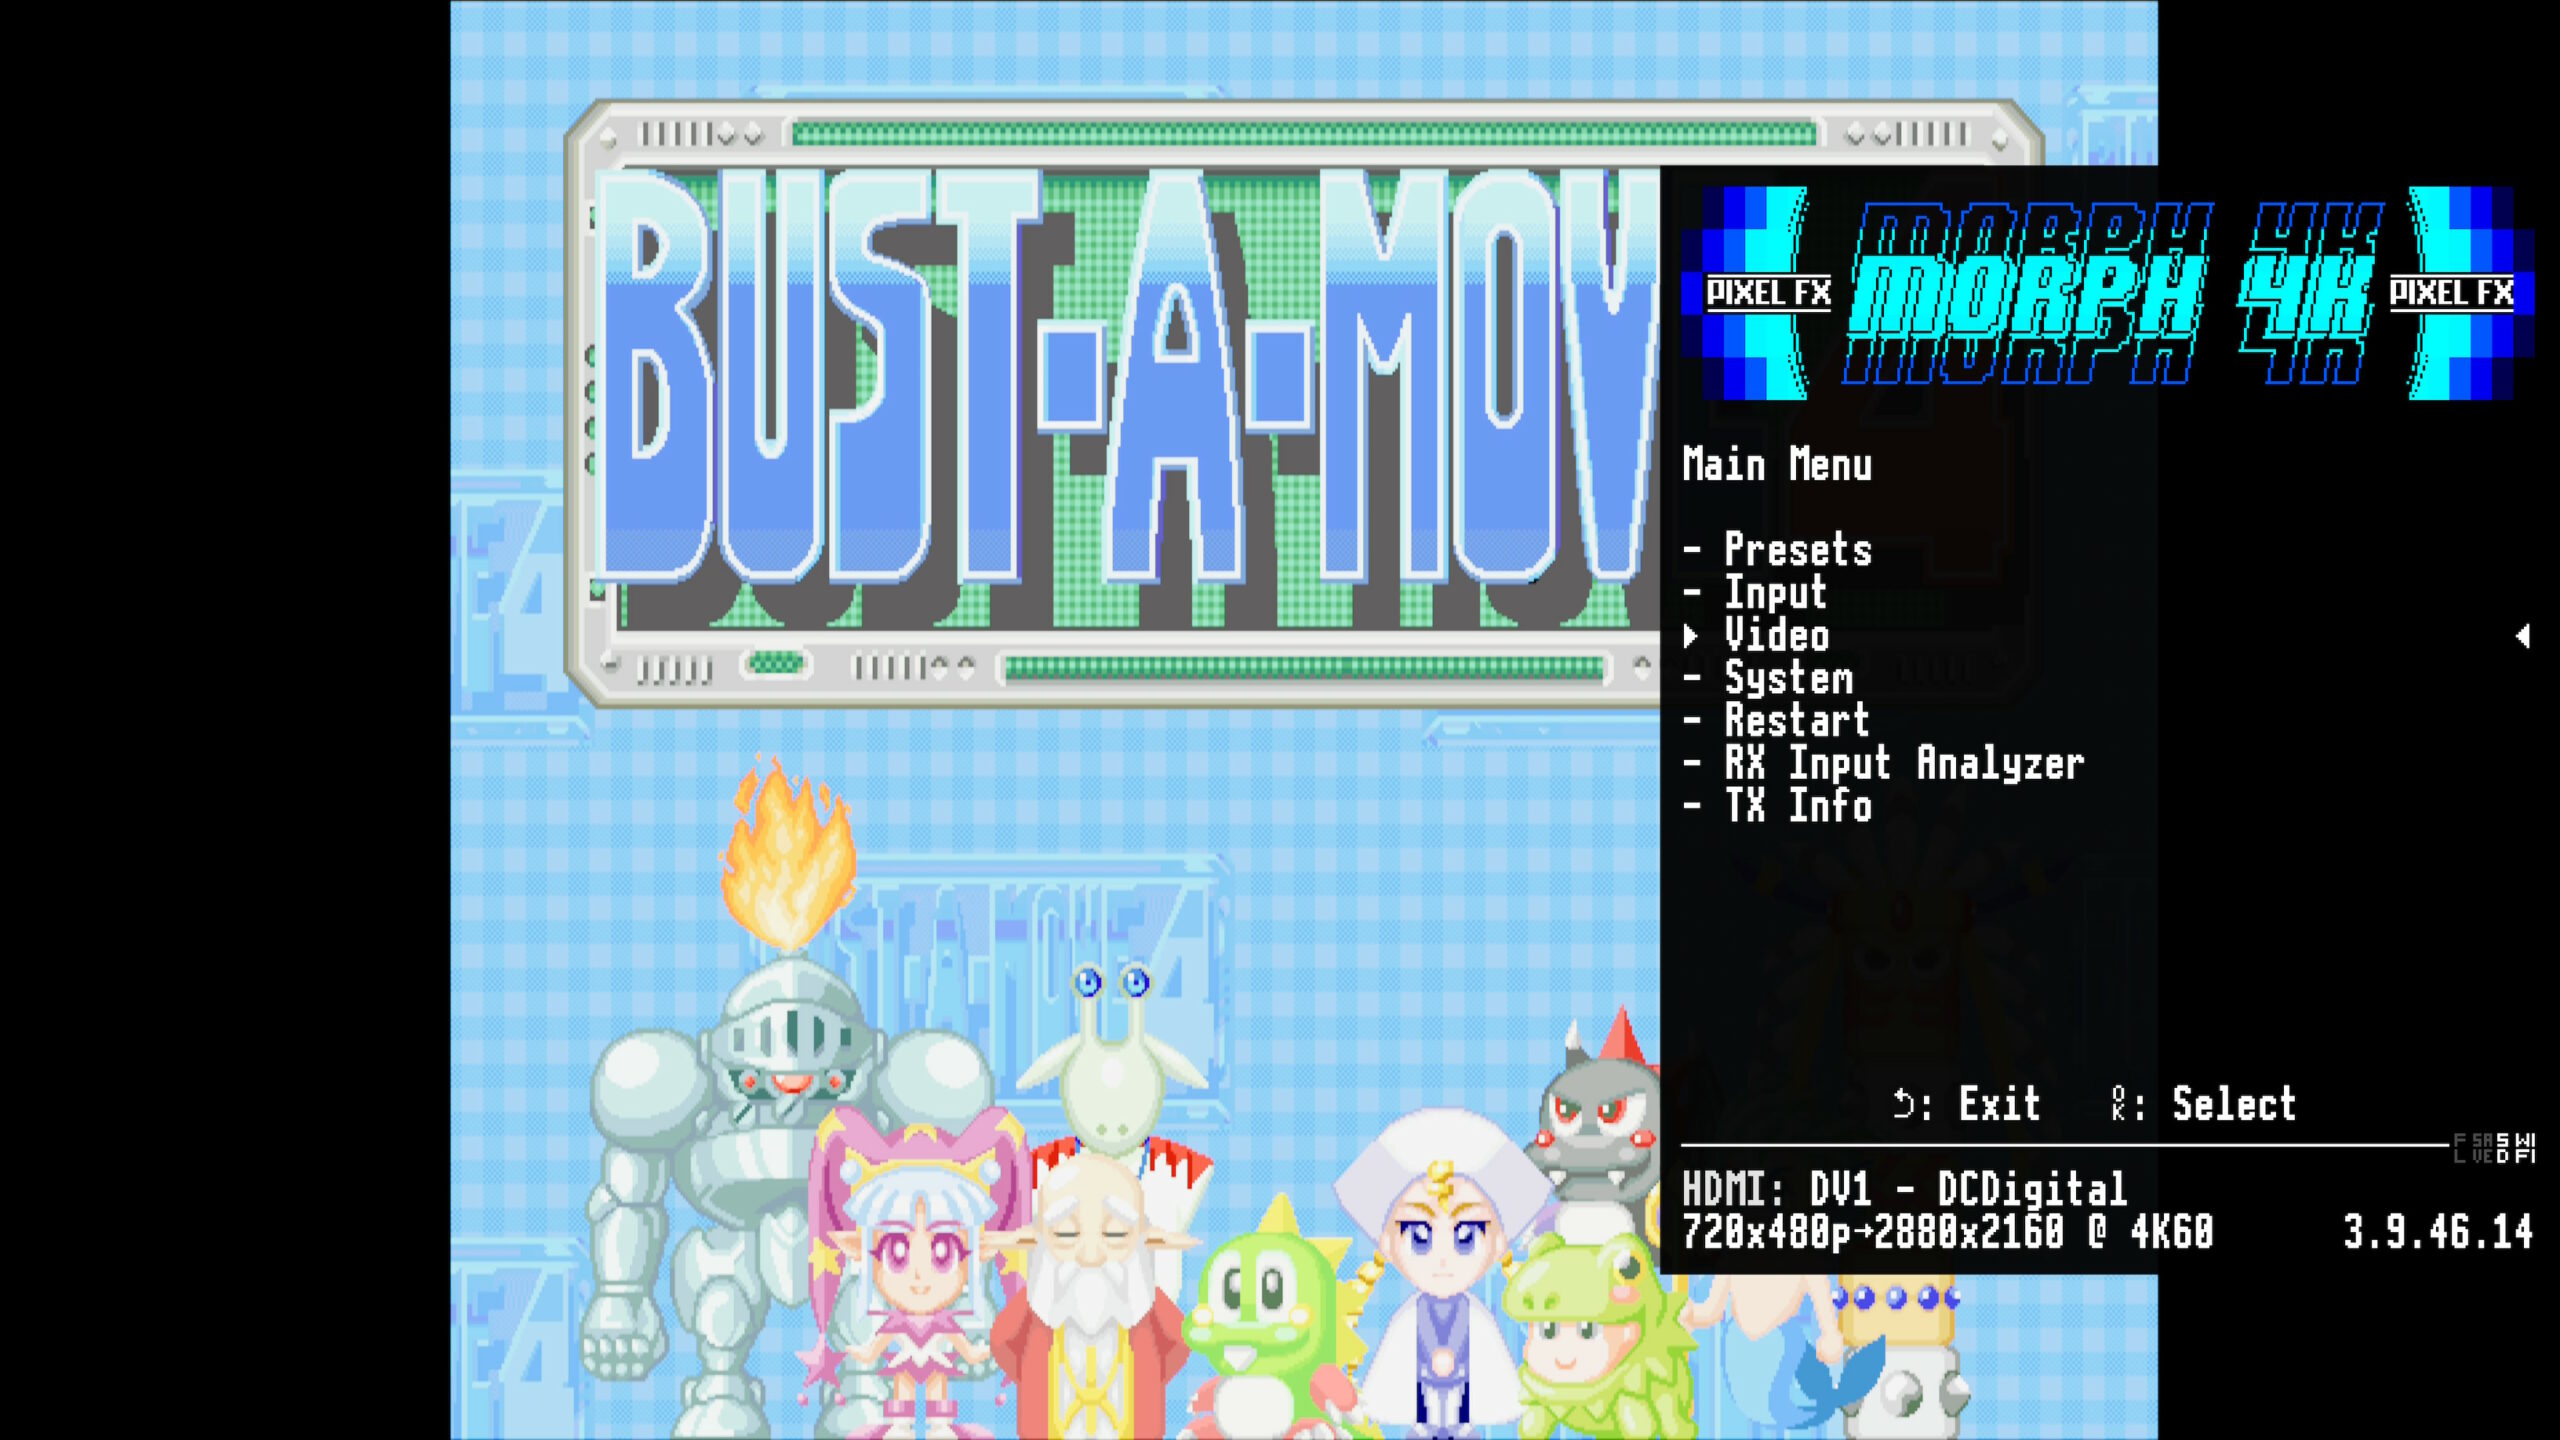
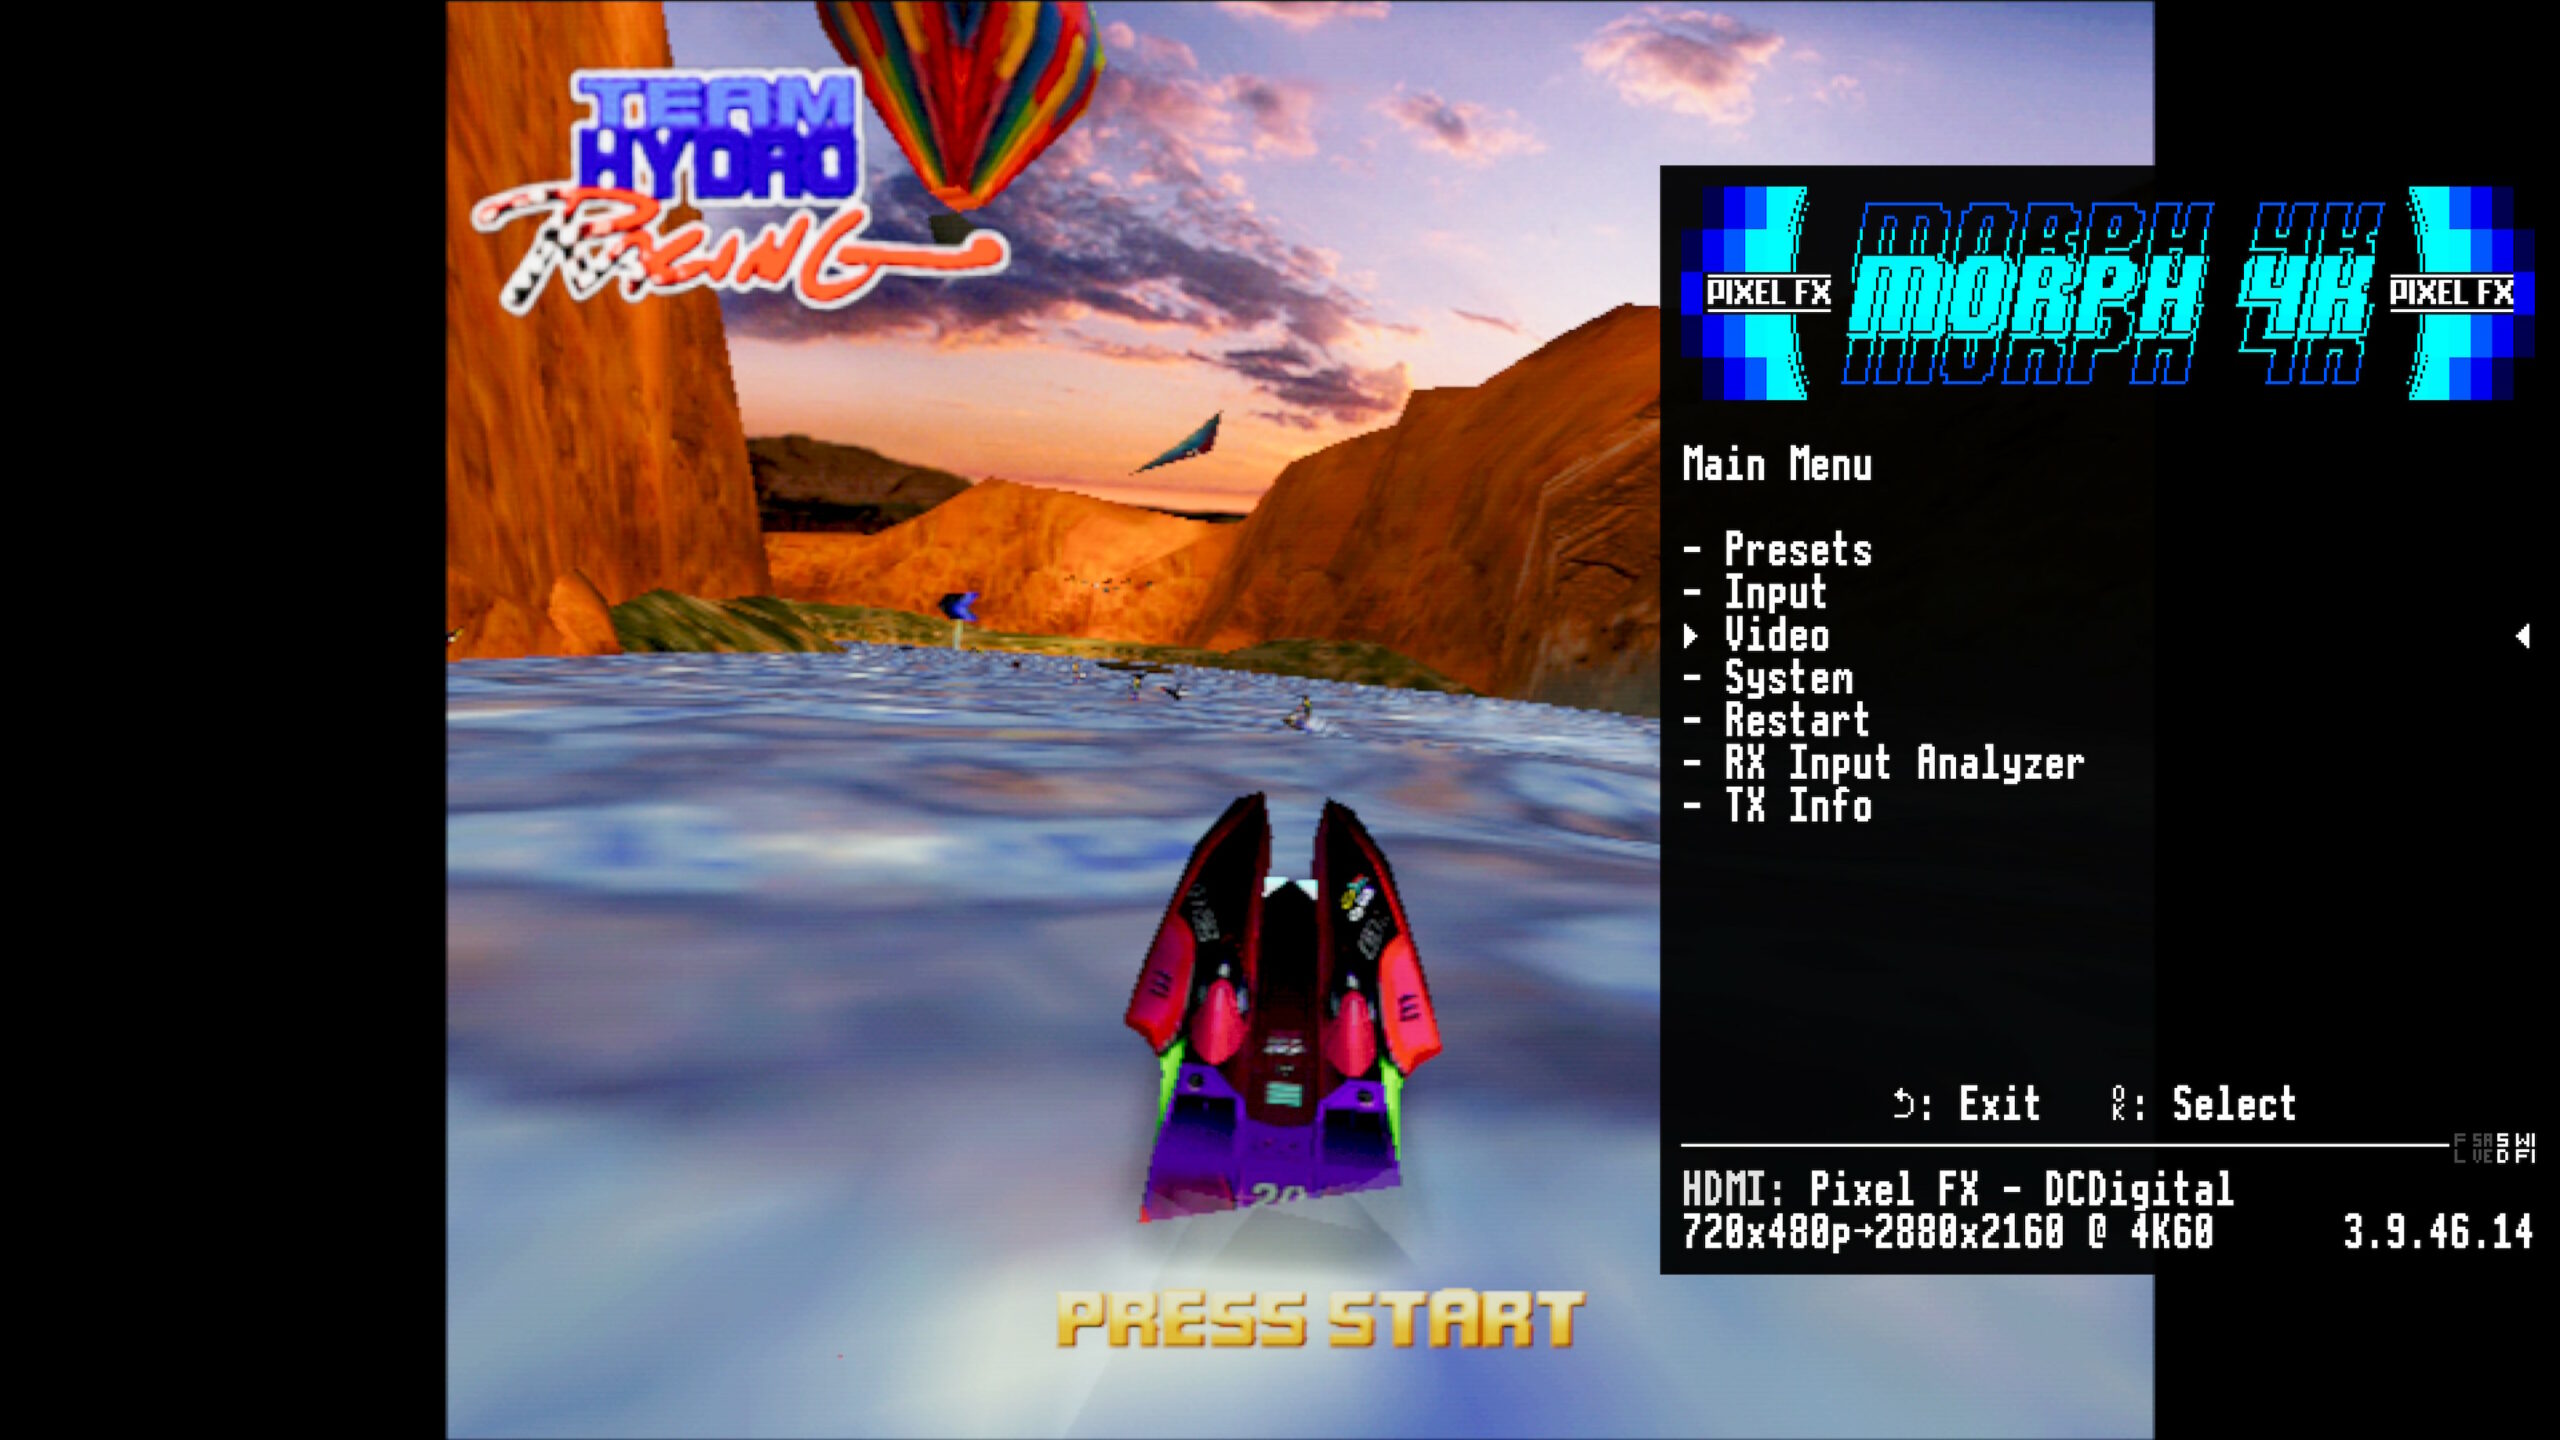
I connect to a video scaler (Morph, OSSC Pro, RetroTINK)
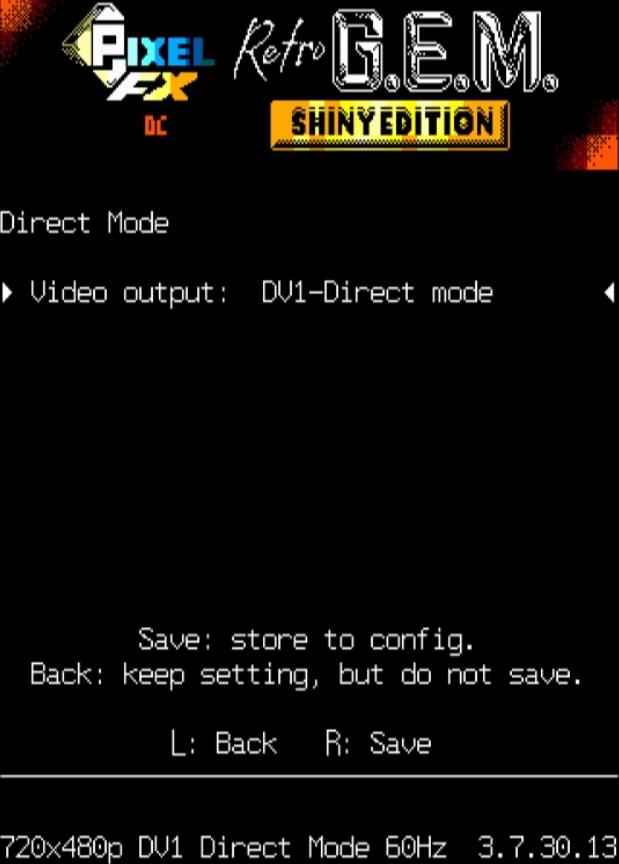
For those of you with a next generation video scaler, there’s now a new “direct mode” on the DCDigital/GEM. As the name suggests, direct mode passes the signal directly to the scaler, bypassing all the devices internal processing and scaling.
To enable direct mode, open the DCDigital/GEM’s on screen menu, navigate to “Video” and choose “Direct Mode”. There are two options here; “FX Direct Mode” which is compatible with the PixelFX Morph only and DV1-Direct mode. Choose “DV1-Direct mode”.
All picture processing will now be handled by your external scaler, since these new scalers have more flexible options and can output higher resolutions, you should generally use them in conjunction with the DCDigital/GEM in DV1-Direct mode. There is just one exception, if you wish to play the game Hydro Thunder in VGA, you need to enable the Magiclock setting in DCDigital/GEM settings, and then set DCDigital back to standalone mode.
I connect to a multi-sync CRT that supports 15 and 31khz
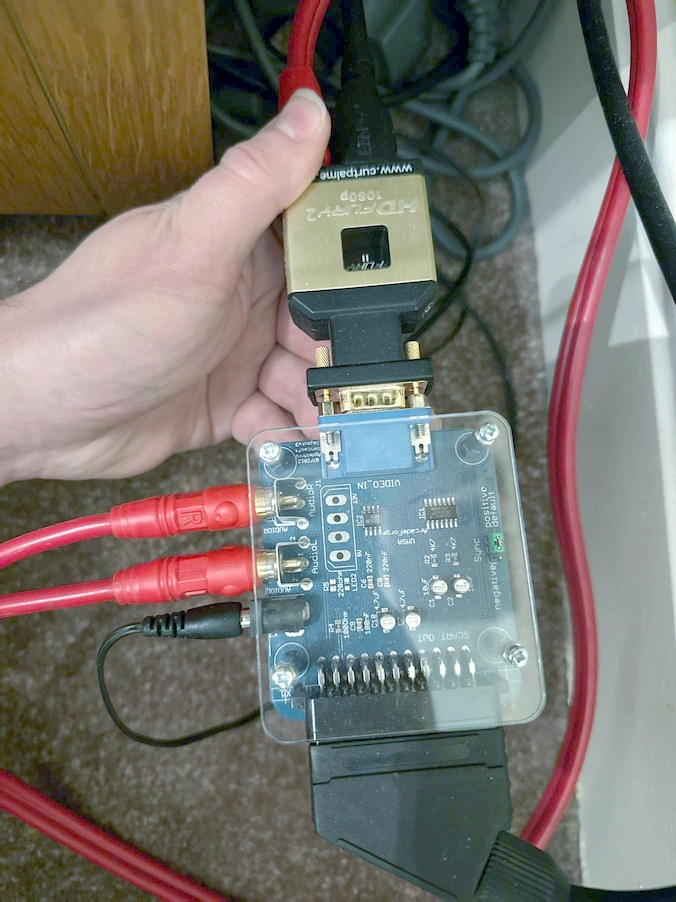
In this situation, use the same DV1-Direct mode as discussed above. You will also need to find a good quality digital to analogue converter (DAC). The HD Fury 2 or Nano come highly recommended, but any good quality DAC should suffice. The only game that causes issues is Hydro Thunder in VGA, which will trip up some less tolerant DACs. Just like when using a scaler, you can use standalone mode and magiclock to fix this one particular game.
I connect to a VGA CRT monitor (31khz only)
In this situation you should leave the DCDigital/GEM in standalone mode, but choose VGA output resolution. There is generally no benefit to using a higher output resolution on most VGA CRT monitors. As with any CRT, you’re going to need a good quality DAC to convert the digital output of the DCDigital/GEM to analogue VGA.
VGA compatible games will then work as they have always done and look beautiful on your classic display. For any games that are not VGA compatible, use the DCDigital Settings menu to change the console to 15khz output mode (cable detect). DCDigital/GEM will then deinterlace or line double your game, making sure it looks as good as it can on your display.
I connect to a 15khz only CRT
For classic CRT televisions, first set the Dreamcast to 15khz output mode by using the DCDigital/GEM Settings menu and setting “Video Mode” to “cable detect”. Now, ensure that the DCDigital output is set to DV1-Direct mode (Video->Direct Mode->DV1-Direct mode).
You are now ready to attach your Dreamcast to your classic CRT. You will need a digital to analogue converter and, depending on your TV and your DAC of choice, an adapter to go from VGA to SCART or component. I used the ArcadeForge UMSA to convert the output of an HD Fury 2 from RGBHV to RGB SCART with RGB blanking voltage.
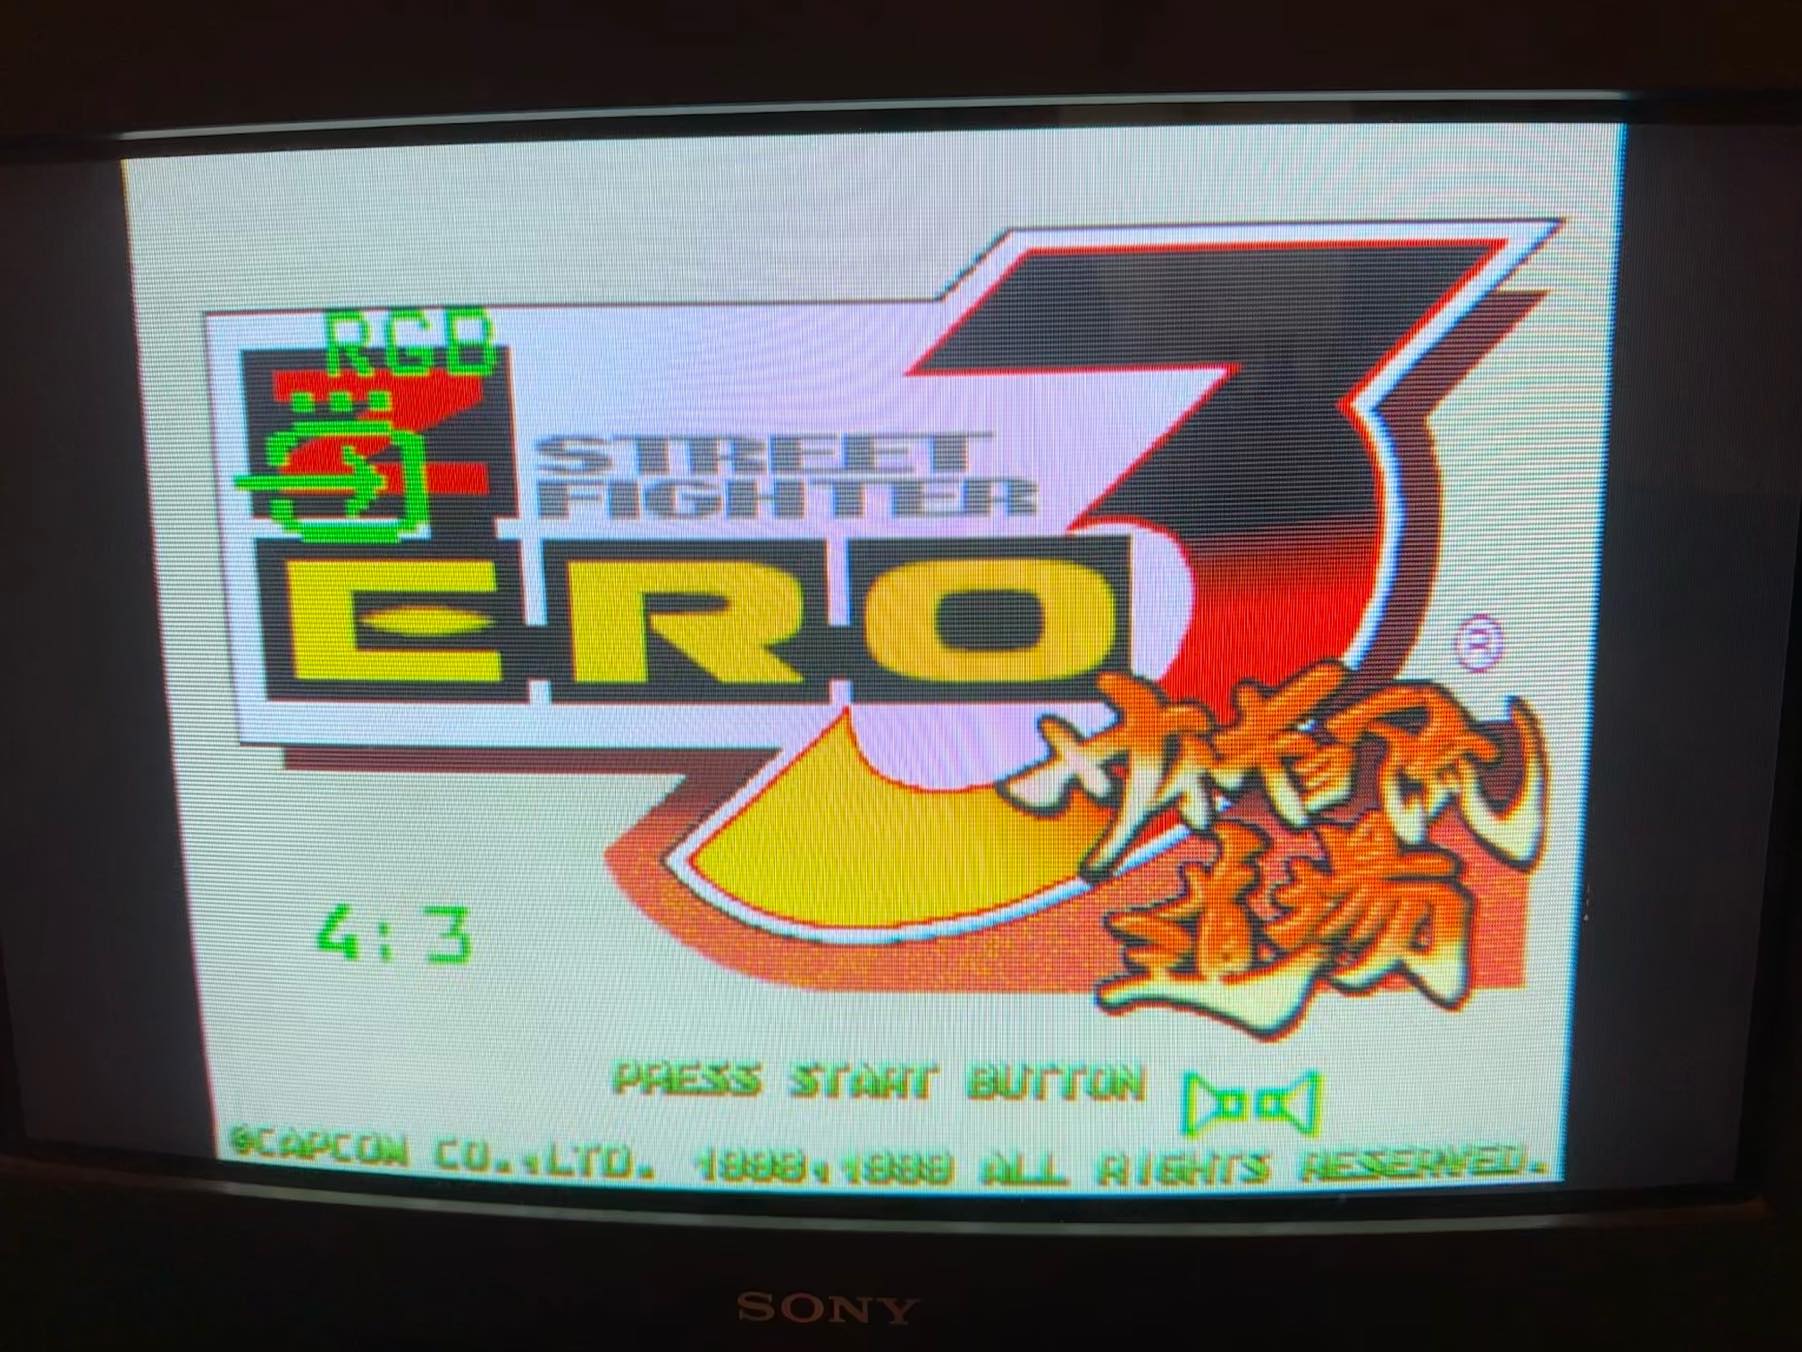
Why would you even bother with a DCDigital/GEM in this situation? It’s quite an extravagance, but it means you can play games like Street Fighter Alpha 3 in RGB mode. This game and a handful of others would refuse to boot when an RGB SCART cable was attached to the Dreamcast. With the DCDigital/GEM this is no longer a problem, and the games will boot and display in full RGB.
Some of you may be wondering if light guns can still be used when running through the DCDigital/GEM, the answer is yes, as long as you’re using a lag free DAC and a CRT and the device is set to DV1-Direct mode. The Dreamcast light guns support both 15khz and 31khz CRTs, meaning you can blast zombies and bad guys on a VGA monitor or a classic television.
Screenshots and Examples
DCDigital kits are in stock
DCDigital kits are in stock now and can be purchased on this page. These are the last few kits and will be replaced soon by the RetroGEM Dreamcast kits, which will offer the same functionality.