HDMI output using Raspberry Pi zero
NewHome › Forums › C64, C128 & ZX Spectrum Video Enhancement › HDMI output using Raspberry Pi zero
Tagged: C64 HDMI
- This topic has 2 replies, 2 voices, and was last updated July 14, 2020 at 3:14 PM by
IanB.
-
AuthorPosts
-
July 13, 2020 at 10:43 PM #39780
I’ve just got c0pperdragon’s board running with a HDMI scaler project I’ve been working on that uses a Raspberry Pi zero.
https://github.com/IanSB/RGBtoHDMI/wiki
It’s a fork of a project started by hoglet67 on the BBC micro stardot forum and I originally got involved to add deinterlacing for the BBC micro’s teletext mode and genlocking but then started adding features to support other vintage computers.
It’s not a general purpose scaler as it has limited bit depth so it won’t work with most games consoles. It primarily works with late 70s – mid 80s home computers and it does have some unusual features that result in a very high quality image:
It re-samples and re-quantises the incoming video and effectively reconstructs exactly the original bit image present in the RAM of the source computer, it then rescales the image using integer nearest neighbour scaling and applies its own machine specific palette to that image and the end result is noise free and sharp and it makes the output of real hardware look like it’s coming from an emulator.
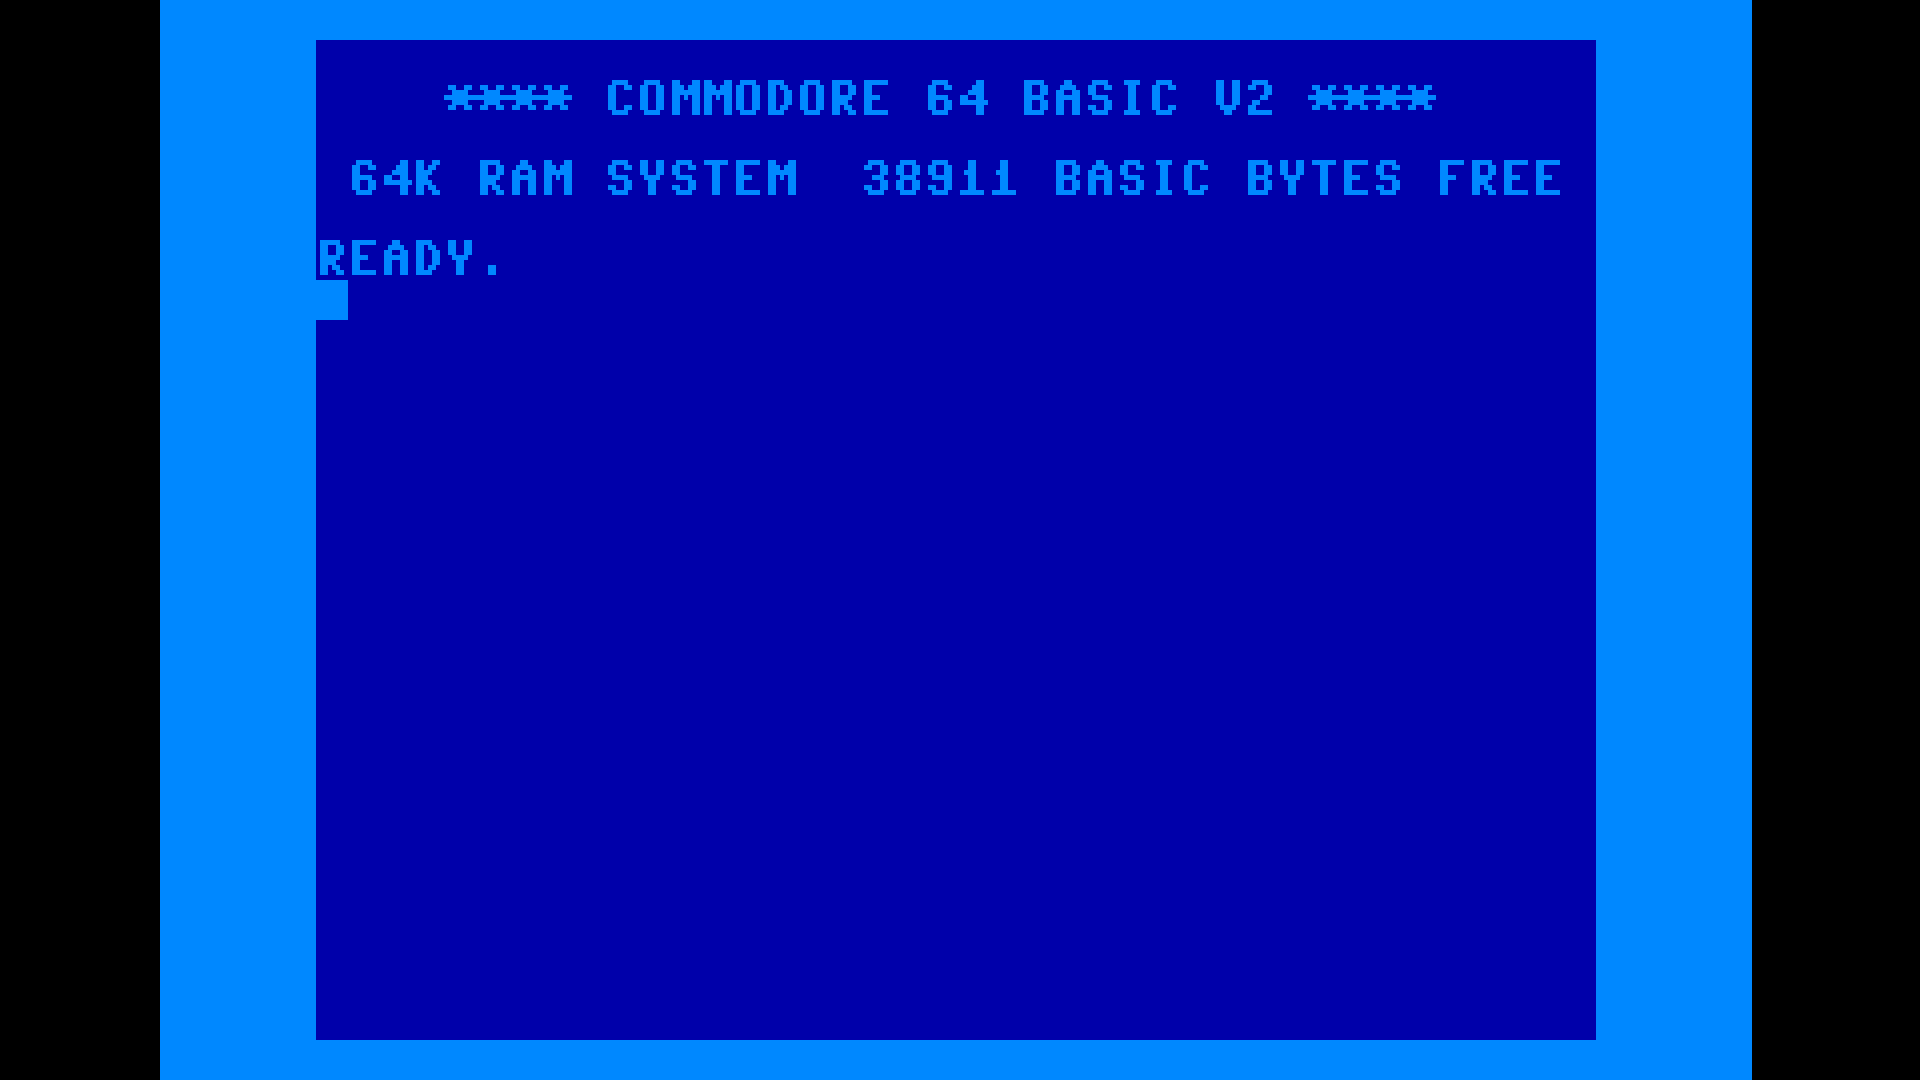
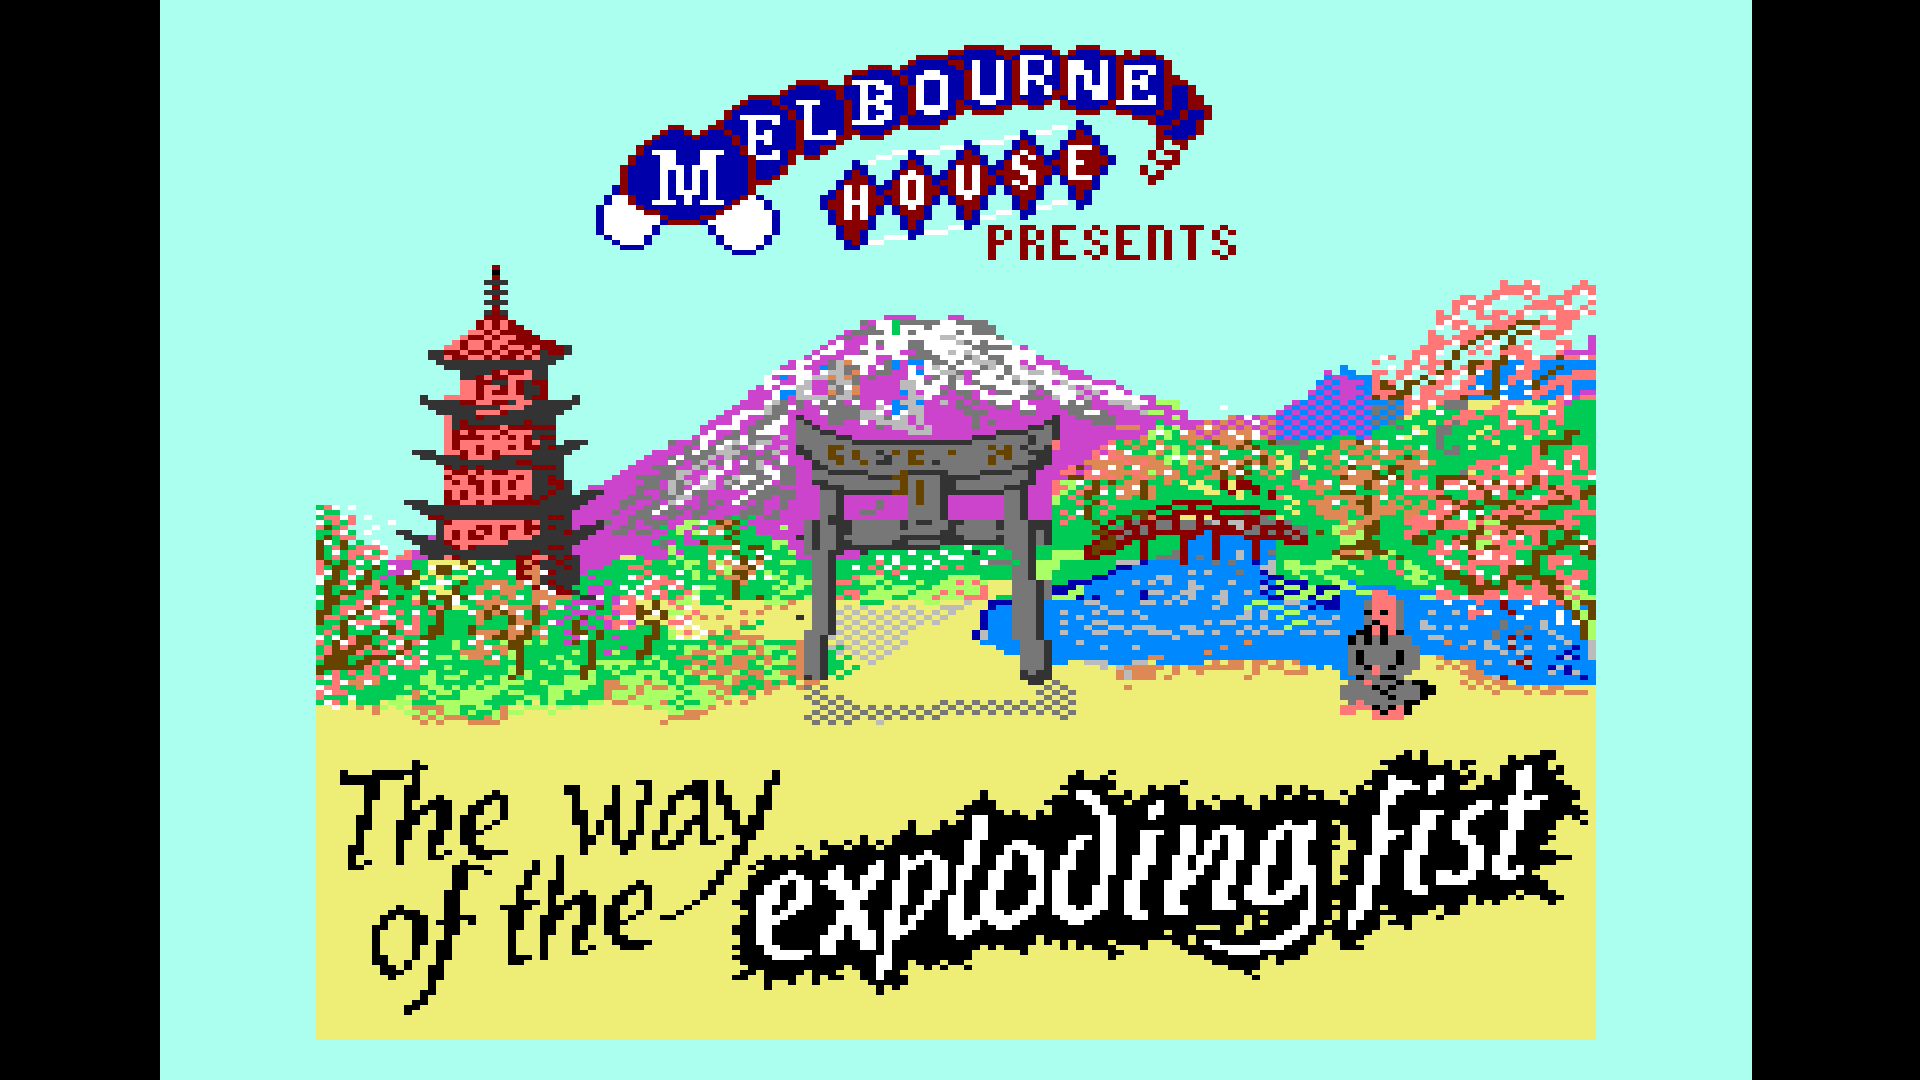
It also has a screengrab option that writes the frame buffer to the Pi’s SD card so here are some screencaps:


There is a gallery of supported machines here:
https://github.com/IanSB/RGBtoHDMI/wiki/Gallery-of-Screencaps
If you click on the links above each image and view them on a 1080P monitor at 100%, that is the exact quality you get from the scaler.
July 14, 2020 at 9:31 AM #39795super sharp! Can it add scanlines or can you use the scanline overlay with Copperdragons mod with it?
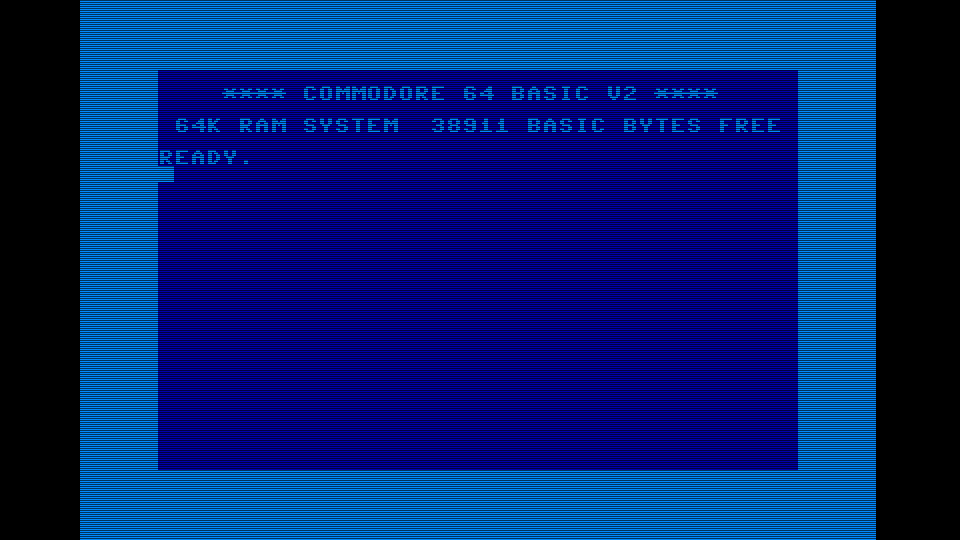
July 14, 2020 at 3:14 PM #39798It has its own scanlines which can be varied in intensity from 0% to nearly 100% in 16 steps. You can also vary the capture geometry and aspect ratio scaling which can allow things like displaying a 625 line source with 525 line aspect ratio. The above images are from a 625 line C64 but being displayed with 525 line aspect ratio that fills the screen height.
Here’s the same source with a 625 line aspect ratio and scanlines turned on:

It has a menu system for all the options which is documented here:
https://github.com/IanSB/RGBtoHDMI/wiki/Reference-Guide
You have to re-program the palette in c0pperdragon’s board to produce 16 distinct combinations of YUV that the scaler can detect as it can only sense 3 levels for each of YUV or RGB (which is sufficient for CPC 464 & later Spectrums) and the default values have too many levels that are too close together to discriminate. After that the analog output displays the wrong colours but the scaler applies its own palette so the final output looks correct. This means you can’t use the palette reprogramming feature but the scaler has it’s own palette reprogramming feature so custom palettes are still an option.
Essentially the reprogramming of the palette is to extract the 4 bit logical colour data from the output so it would be better if c0pperdragon’s board had a 4 bit logic level output + sync on a header as that could be connected straight to the TTL input of the scaler bypassing the analog board and keeping the signal digital all the way to the hdmi port.
-
AuthorPosts
- You must be logged in to reply to this topic.

