AV Guides, Best Games Rooms, Games Room Equipment, Games Rooms, Howto & Guides
Building our New Games Room – Part 9 – The final build and closing thoughts
Welcome to the ninth and final part of our games room build write up and guide. This part is just for those of you who are curious to see how our final build turned out. I’m always interested to see other peoples designs and ideas so I hope that a small amount of showing off here won’t be dismissed as just mere brag and bluster.
From Concept to Reality
If you are buying bespoke for your games room then make sure to communicate your vision clearly and accurately to your designer and don’t be afraid to go back and forth with them a few times to get exactly what you need. Anyone who has ever worked in any kind of engineering will know all too well that language is ambiguous and design briefs can be misunderstood.
For our build we went with Wexford based Parle Furniture. Their portfolio includes living room and media unit designs that sparked our interest so they seemed perfectly suited to the job. Overall we have been delighted with the results. For this project even our most outlandish ideas were no problem for them.
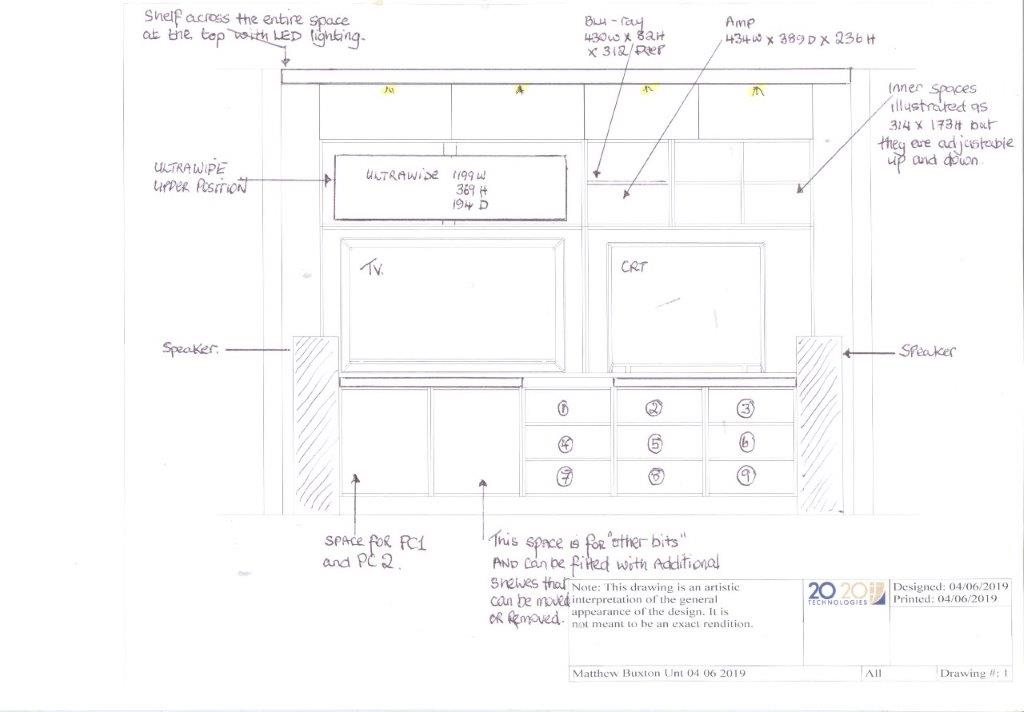
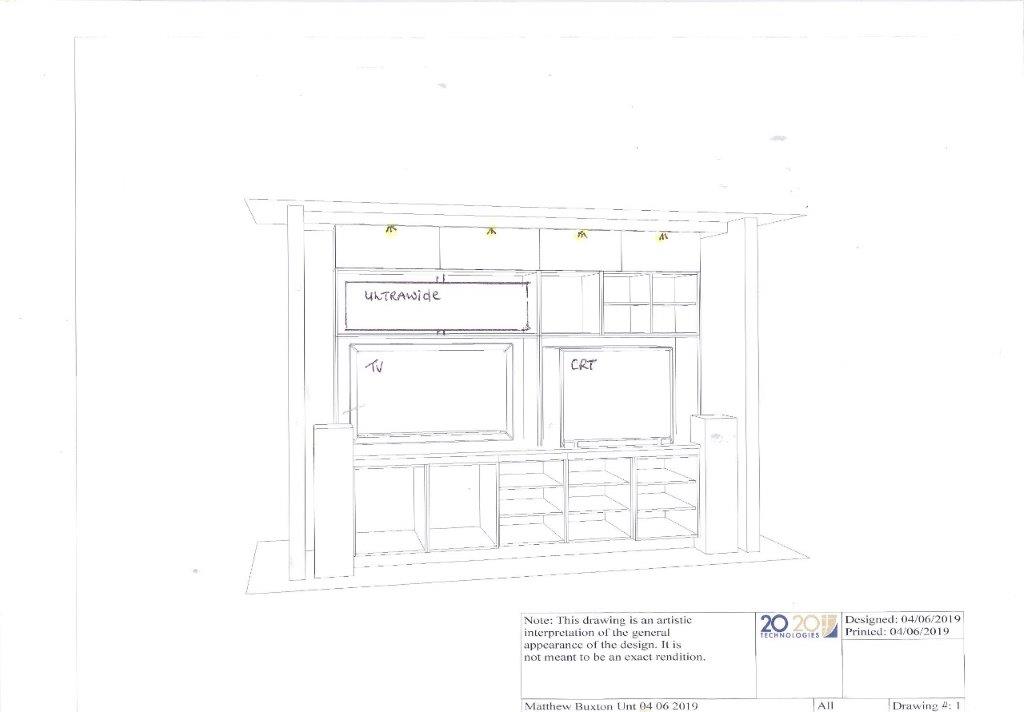
After supplying our room measurements and a brief, they produced some concept sketches, we have posted a couple of them below.
You can see from the sketches that in our original concept we had the amplifier and Blu-ray player above the displays. This was because I thought it would look ‘cool’ there. However, I’m glad that idea got shelved (pun intended) since, in that position, it would have been much more difficult to connect all the cables.
This later 3D concept sketch is getting closer to the final design, exciting! A good designer will be happy to provide such sketches and should work with you closely to make sure that your vision and his or her understanding of it aligns properly.
Building…
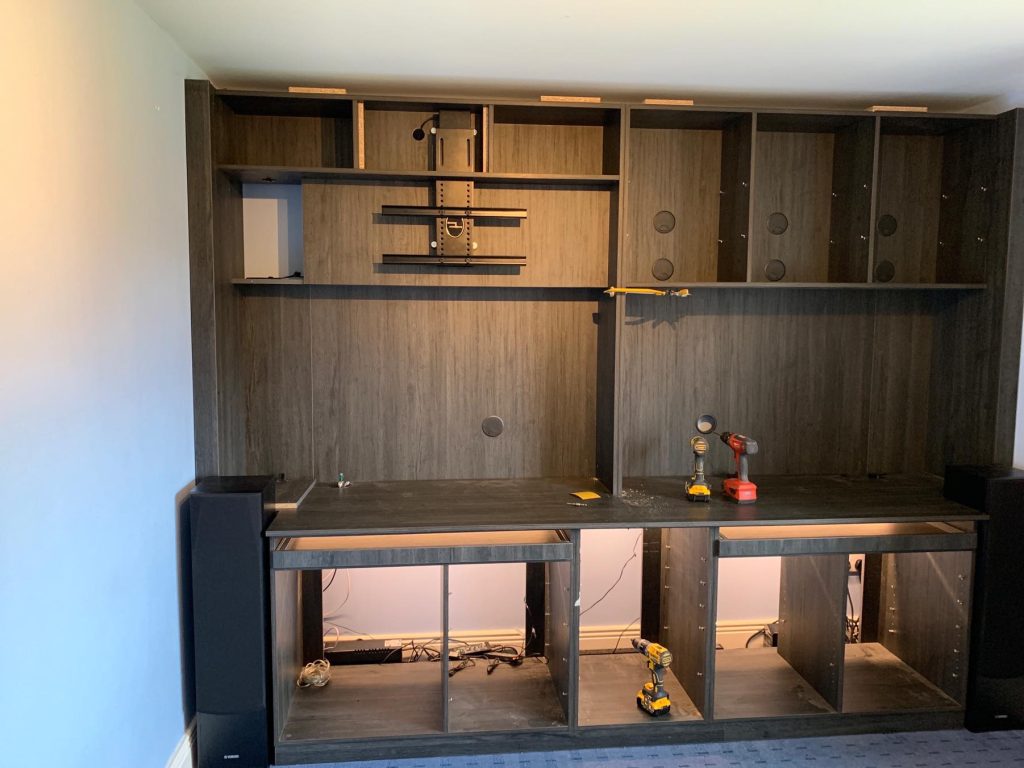
With plans finalised, a build date was agreed for the unit to be installed. The whole installation of the media unit itself was done within a day (the separate shelving on the wall opposite the window was decided on and installed later).
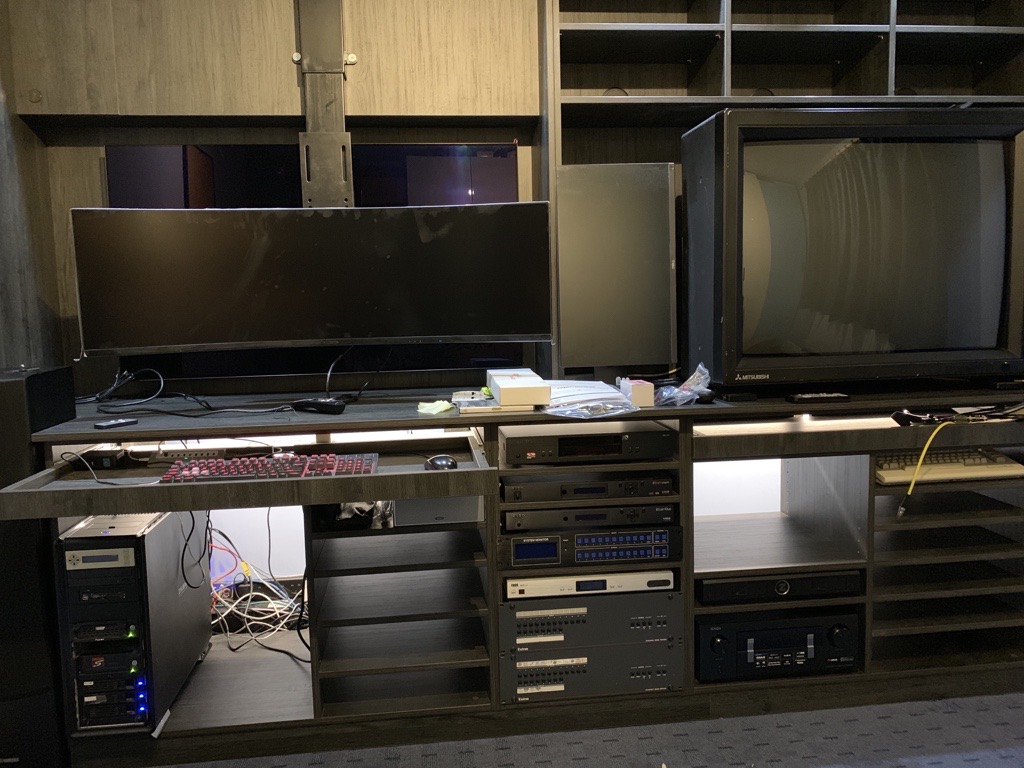
In the picture above you can see the empty media unit before any of the displays were installed. Back in part 4 we talked about choosing displays and how we wanted to add both an ultrawide and a 16:9 display. Here you can see the monitor lift that will incorporate the ultrawide and the recess that will house the LG OLED behind it.
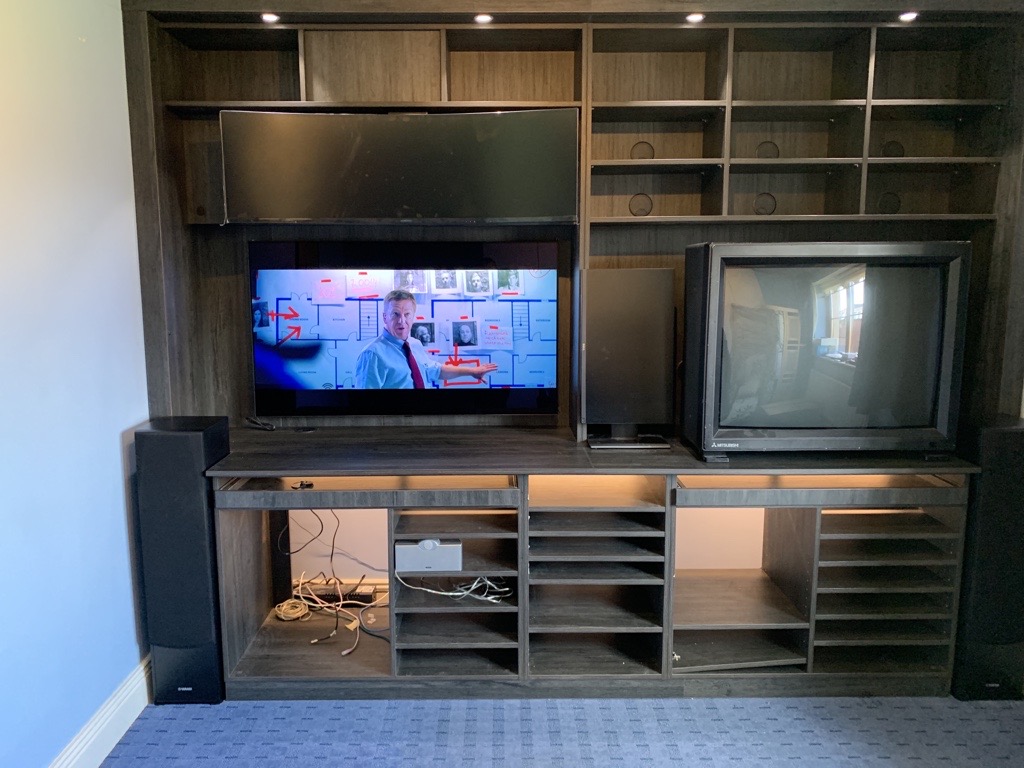
The ultrawide, 16:9 OLED, 19:6 LCD and classic CRT are now installed. All that remains is to figure out where to put everything else.
Here’s the start of our first attempt at fitting in all the myriad of devices. Those cables from the PC are already starting to look messy and we have barely started! Those of you who read Part 7 will remember that this attempt was actually aborted and some better cable management solutions were fitted.
…Construction Complete!
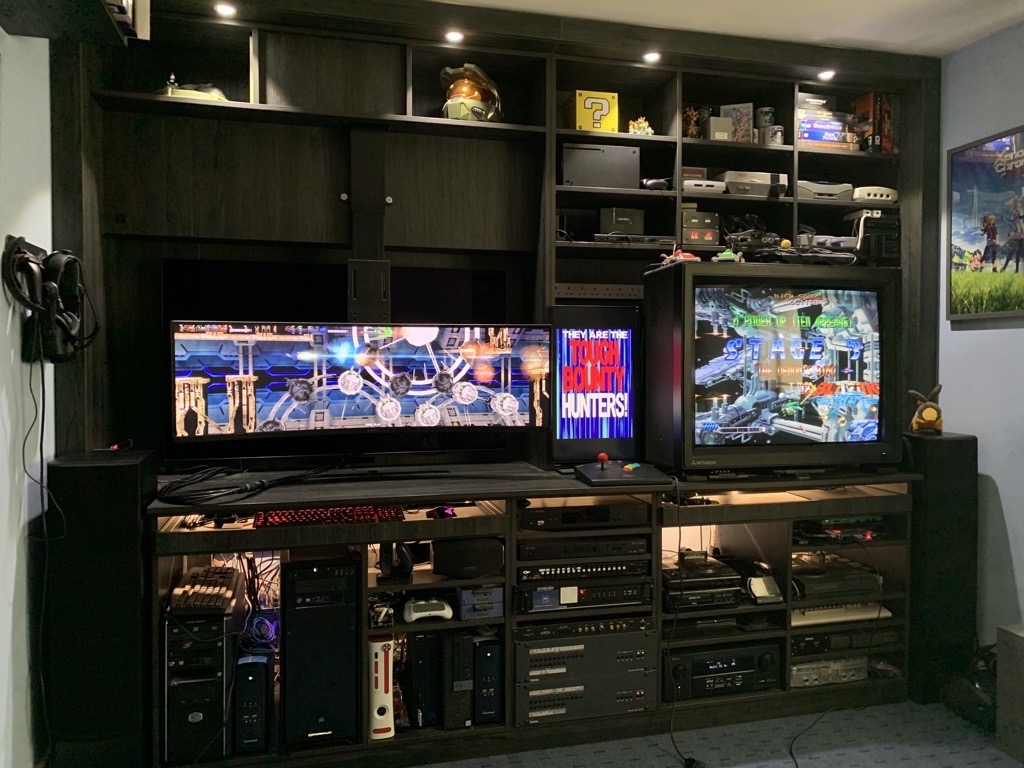
Finally, here’s the completed build as it is today, Friday the 28th of January 2022.
Monitor lift
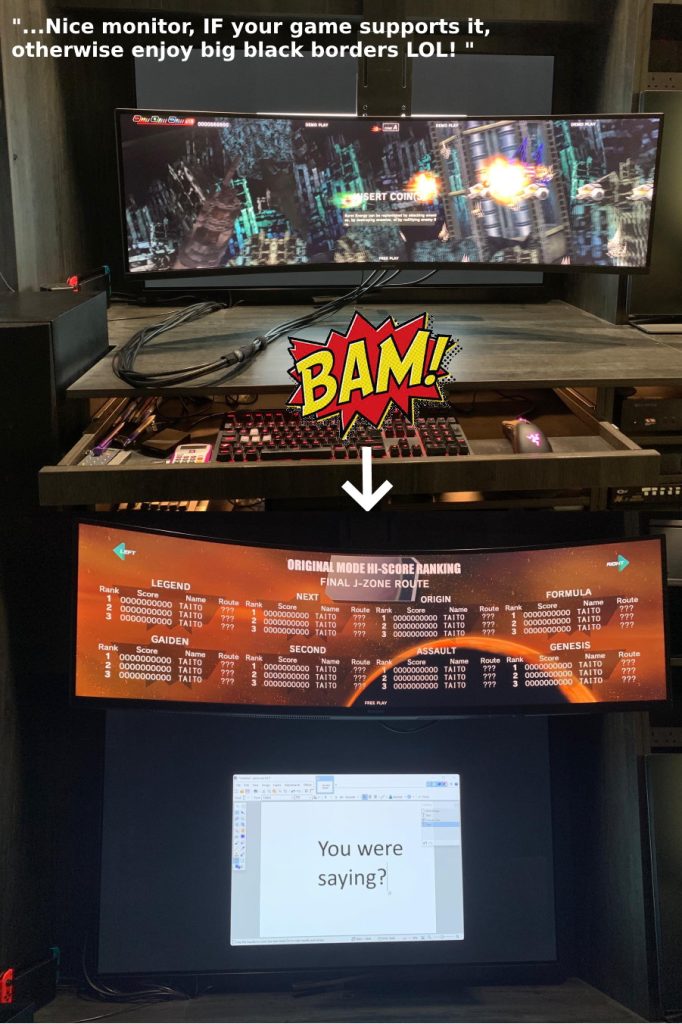
The monitor lift for the ultrawide (purchased from https://www.tv-lifts.co.uk/) is still my favourite part of the build and the part that always turns heads.
Switching rack
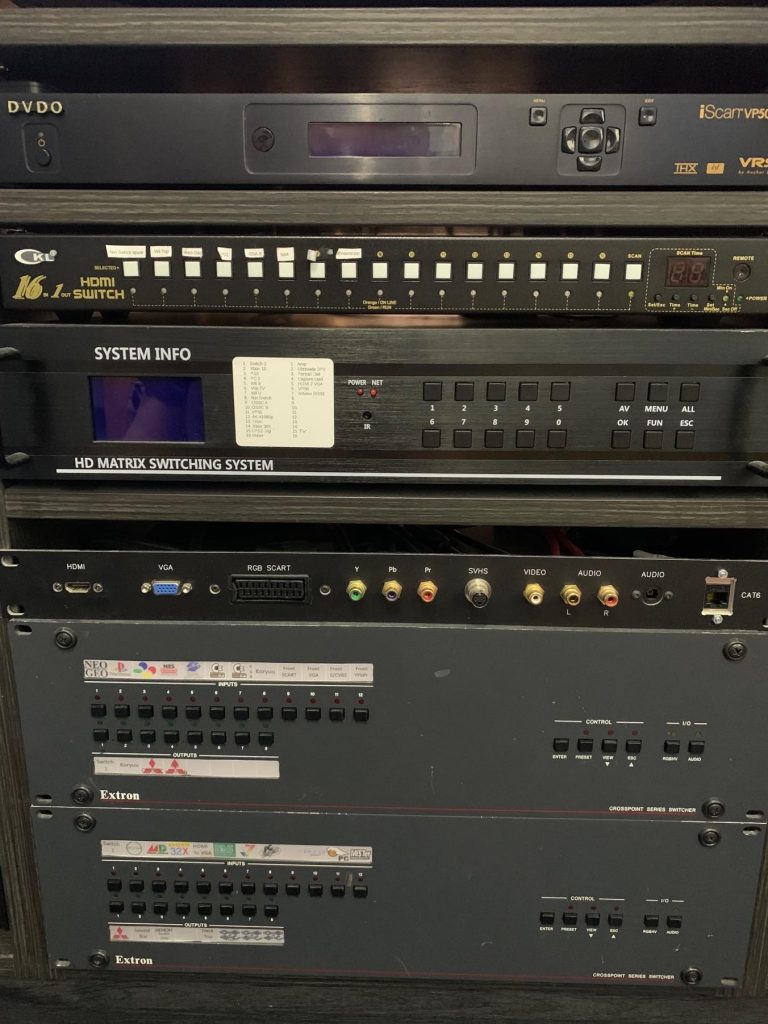
The switching hardware involved is vast and difficult to cable manage. The input panel was a last minute addition and hence doesn’t quite fit in the gap it has been placed in, but it is still functional. The panel allows for the connection of any composite, s-video, component, RGB SCART or HDMI devices on a temporary basis. Great for systems that are only used occasionally or for testing.
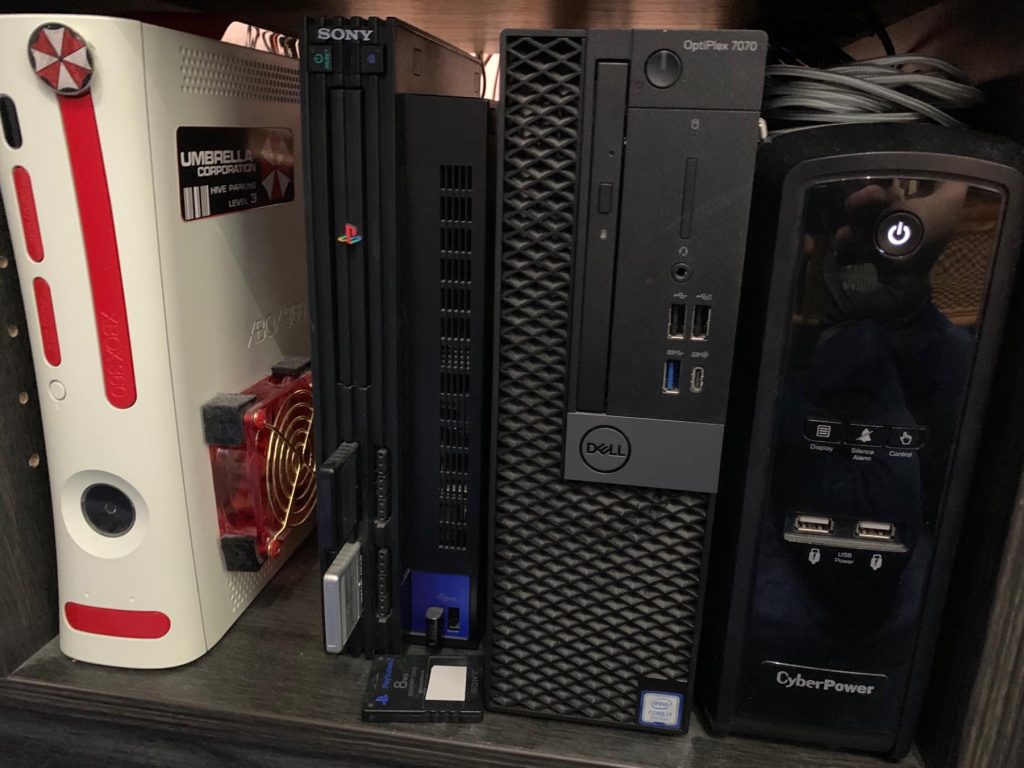
Here a custom painted Xbox 360 and PS2 share a shelf with our GroovyMAME PC and the updated Cyberpower UPS that now replaces the PowerWalker UPS we originally chose. The GroovyMAME PC is running CRT Emudriver, allowing for true 15khz output from MAME or DOSBox (CGA), or for appropriate Windows titles to be downscaled/displayed in 15khz.
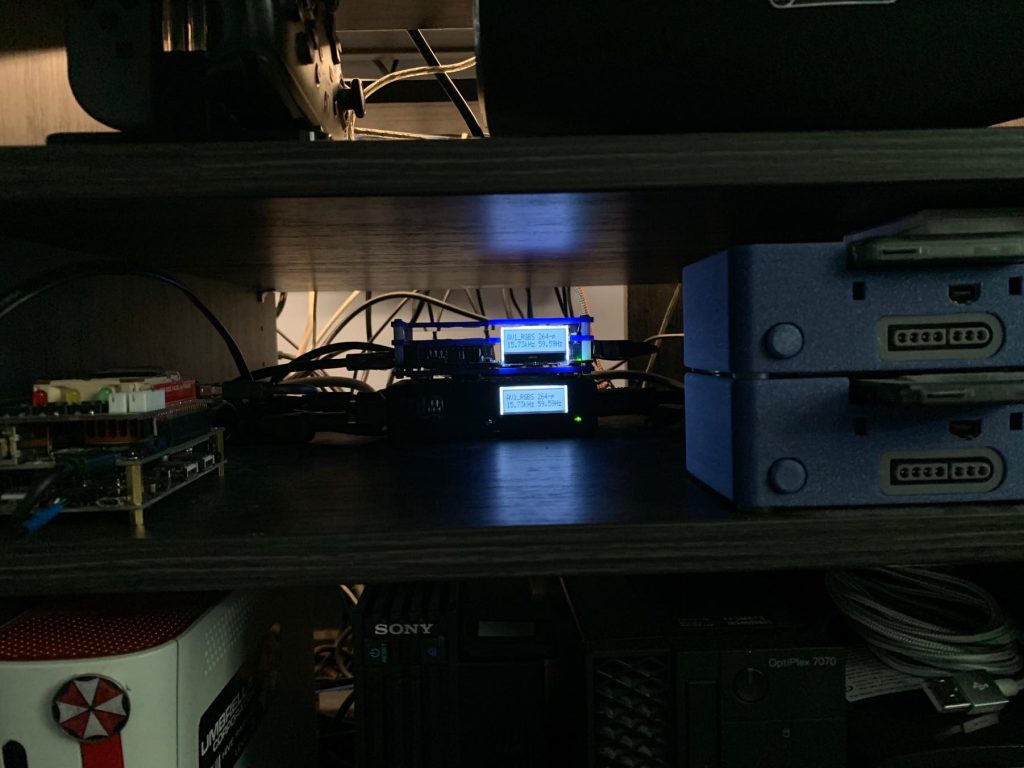
On the shelf above the 360, a MiSTer FPGA system provides instant access to rarer or more exotic systems, while a pair of OSSCs provides flexible scaling and picture processing for older consoles. A pair of consolised GBAs with flash carts gives access to the Game Boy family’s huge back catalogue, with the option to connect a link cable for multi-player.
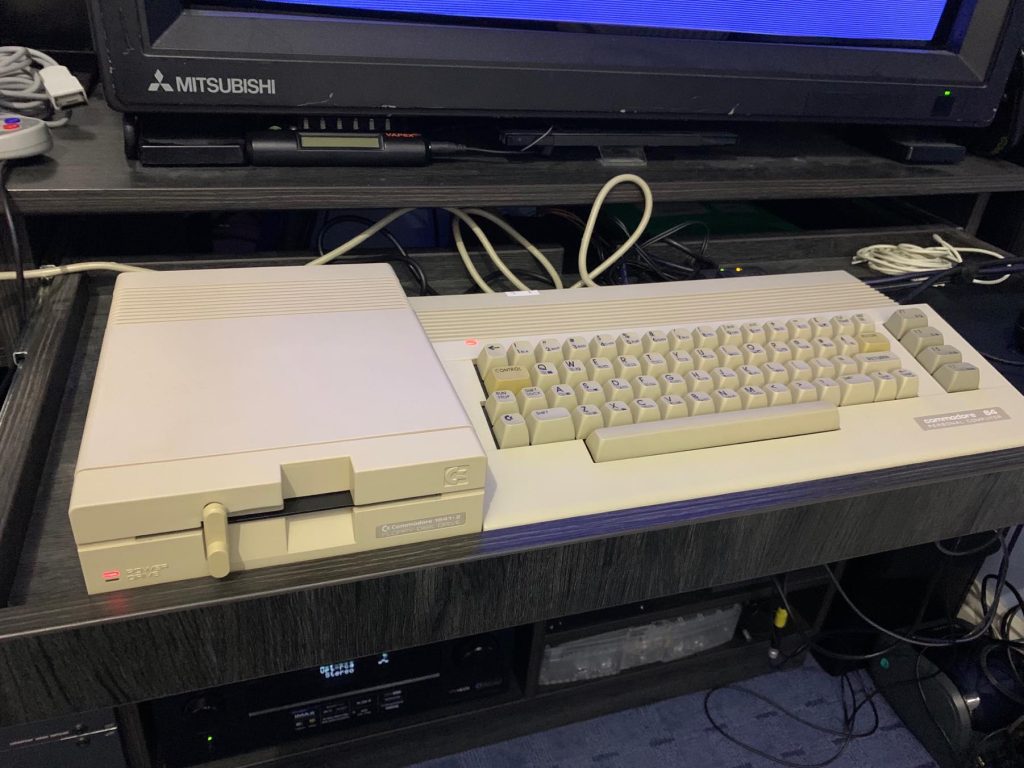
The second keyboard tray on the right of the unit is perfect for setting up retro computers. The C64 gets a permanent place in the setup as my favourite 8-bit micro, with the Spectrum, Atari, BBC Master and others getting occasional use here.
It is also possible to set up a keyboard from the second PC here, for some two player LAN gaming. The Mitsubishi monitor is a multi-sync but it doesn’t have a very high line count, so it tends to look too blurry at resolutions over 720p. The Dell monitor can, with a little effort, be moved onto the tray here should the old CRT not be suitable for whatever game it is we’re playing with our guest.
A spare switch dock for guests shares a shelf with the AES. Changing cartridges on the NES and SNES on the high shelf is a little awkward, but flash carts mean that’s not often necessary. The Saturn, Dreamcast and the PS1 have ODEs installed.
Behind the Dell monitor we mounted some extra power points, there’s also a cable hidden behind here (not shown) that connects into the RGB switching matrix, ideal for testing OSSCs or other scalers that we don’t have permanently in our setup.
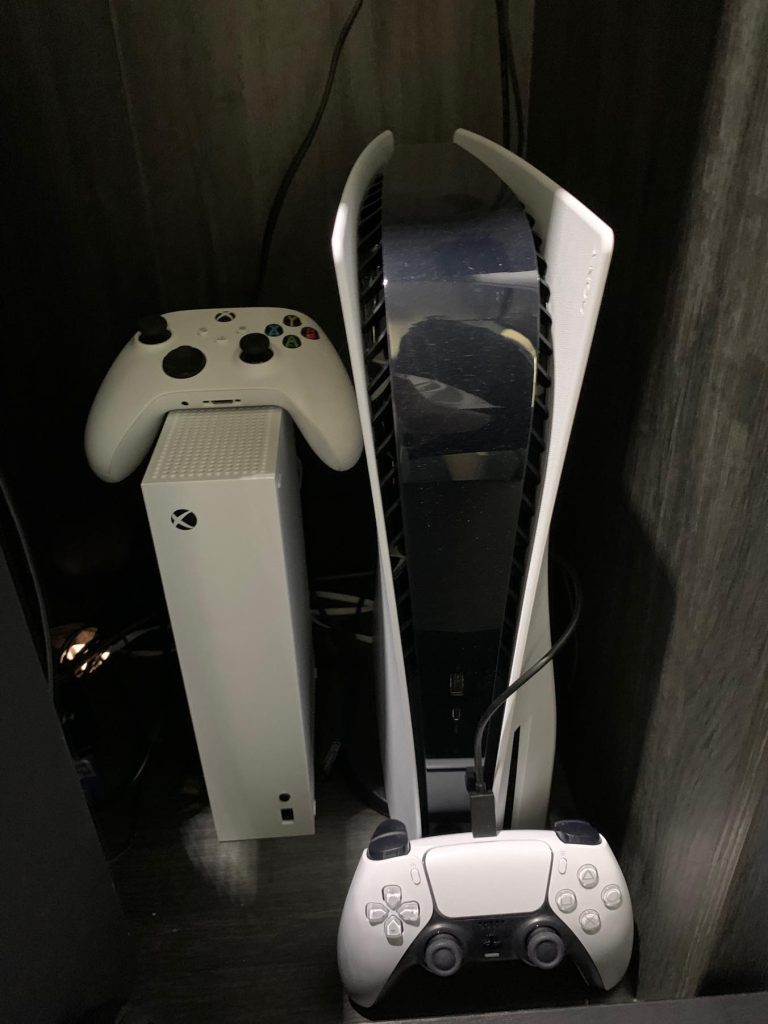
Every last scrap of space was used. Here, nestled to the right of the CRT, a PS5 sits next to an Xbox Series S. The Series S is used for playing Xbox games on the CRT and for video capture and testing with devices like the OSSC Pro. The PS5 and Xbox Series X are only connected to the OLED TV. This is because these systems can’t be used with HDMI splitters without sacrificing features such as VRR and 120hz support. Due to this limitation, it is convenient to have the Series S available too, though lack of support for disc games on the console is disappointing.
Finishing touches
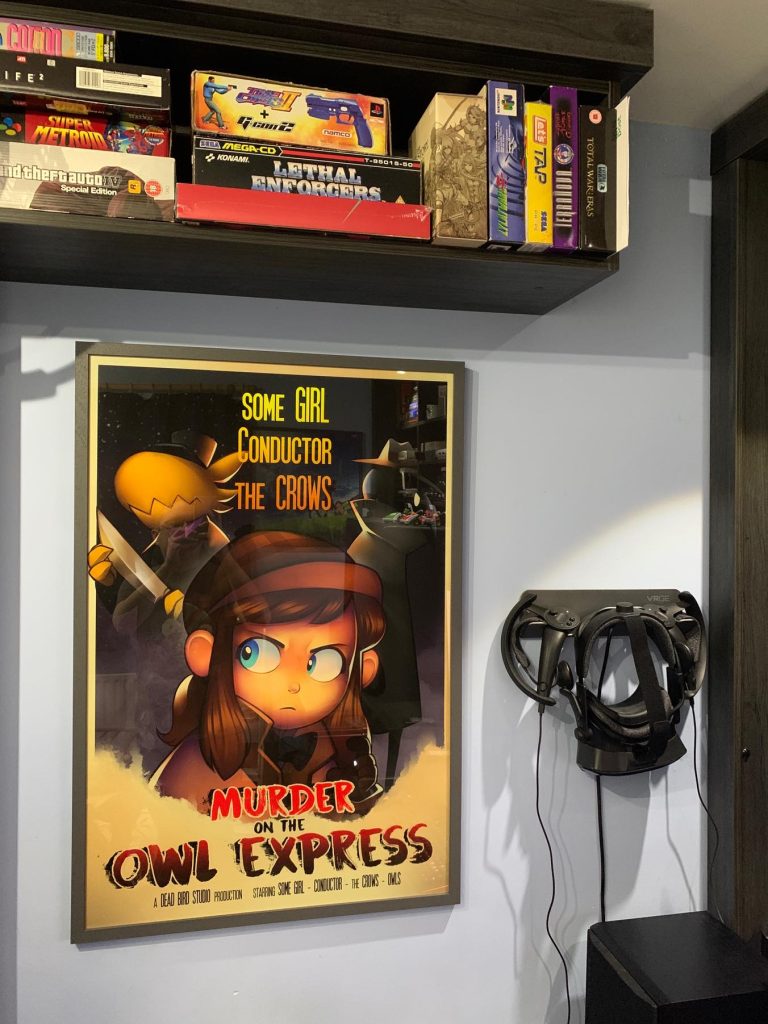
Finally, we added some artwork to brighten up the room, with a useful VRGE storage bracket for the Valve Index, as you can see above.
What works and what doesn’t
We feel our final design is an excellent use of space and accommodates so many different play styles and games. The ultrawide on the TV lift (did we mention that enough already?) being one of the most innovative parts of the build. PC keyboard and mouse games can be played comfortably using the pull out keyboard drawer. The couch is comfortable to sit on while playing games with a traditional controller and, because it is light cane furniture, it can easily be pushed to the back of the room for VR or party games. In a back bedroom in a typical house, lack of space is always going to be an issue, especially if you have guests over but we really feel that we made the most of the space without making it too claustrophobic.
The biggest issue with the media unit is how difficult it is to change things around. Removing or re-routing a couple of cables is a huge job, requiring many consoles to be temporarily removed. Given the space limitations in our back bedroom here, it is unlikely that this could be avoided entirely, but it is definitely something you need to consider when planning your own games room.
If we were to start this whole project from the beginning, then in hindsight we would pay closer attention to cable management. Adding some cable management panels to the back of the furniture would be a good improvement. With cable management in projects like this, every little bit really does help.
That finally concludes our games room write up. What a fun project this has been and what a great room we ended up with, if we do say so ourselves. We hope you found these articles interesting and maybe even useful or inspiring.
Have you got a cool games room build you could tell us about and share your experiences with the retrogaming community? If so, please do get in touch, using the contact form here.



Very fun read, definitely picked up on few things to implement on the next (inevitable) setup re-arrangement!
The front input panel is a very clever idea. It looks custom, did you make it yourself?
It was from this company – https://www.yorkav.co.uk/acatalog/index.html