Dreamcast Advanced Controller Board
€33.00
€39.27 incl. VAT
VAT inclusive price is estimated based on the geolocation of your browser and may be subject to recalculation at checkout. What's VAT?
Dreamcast battery problems solved!
Out of stock
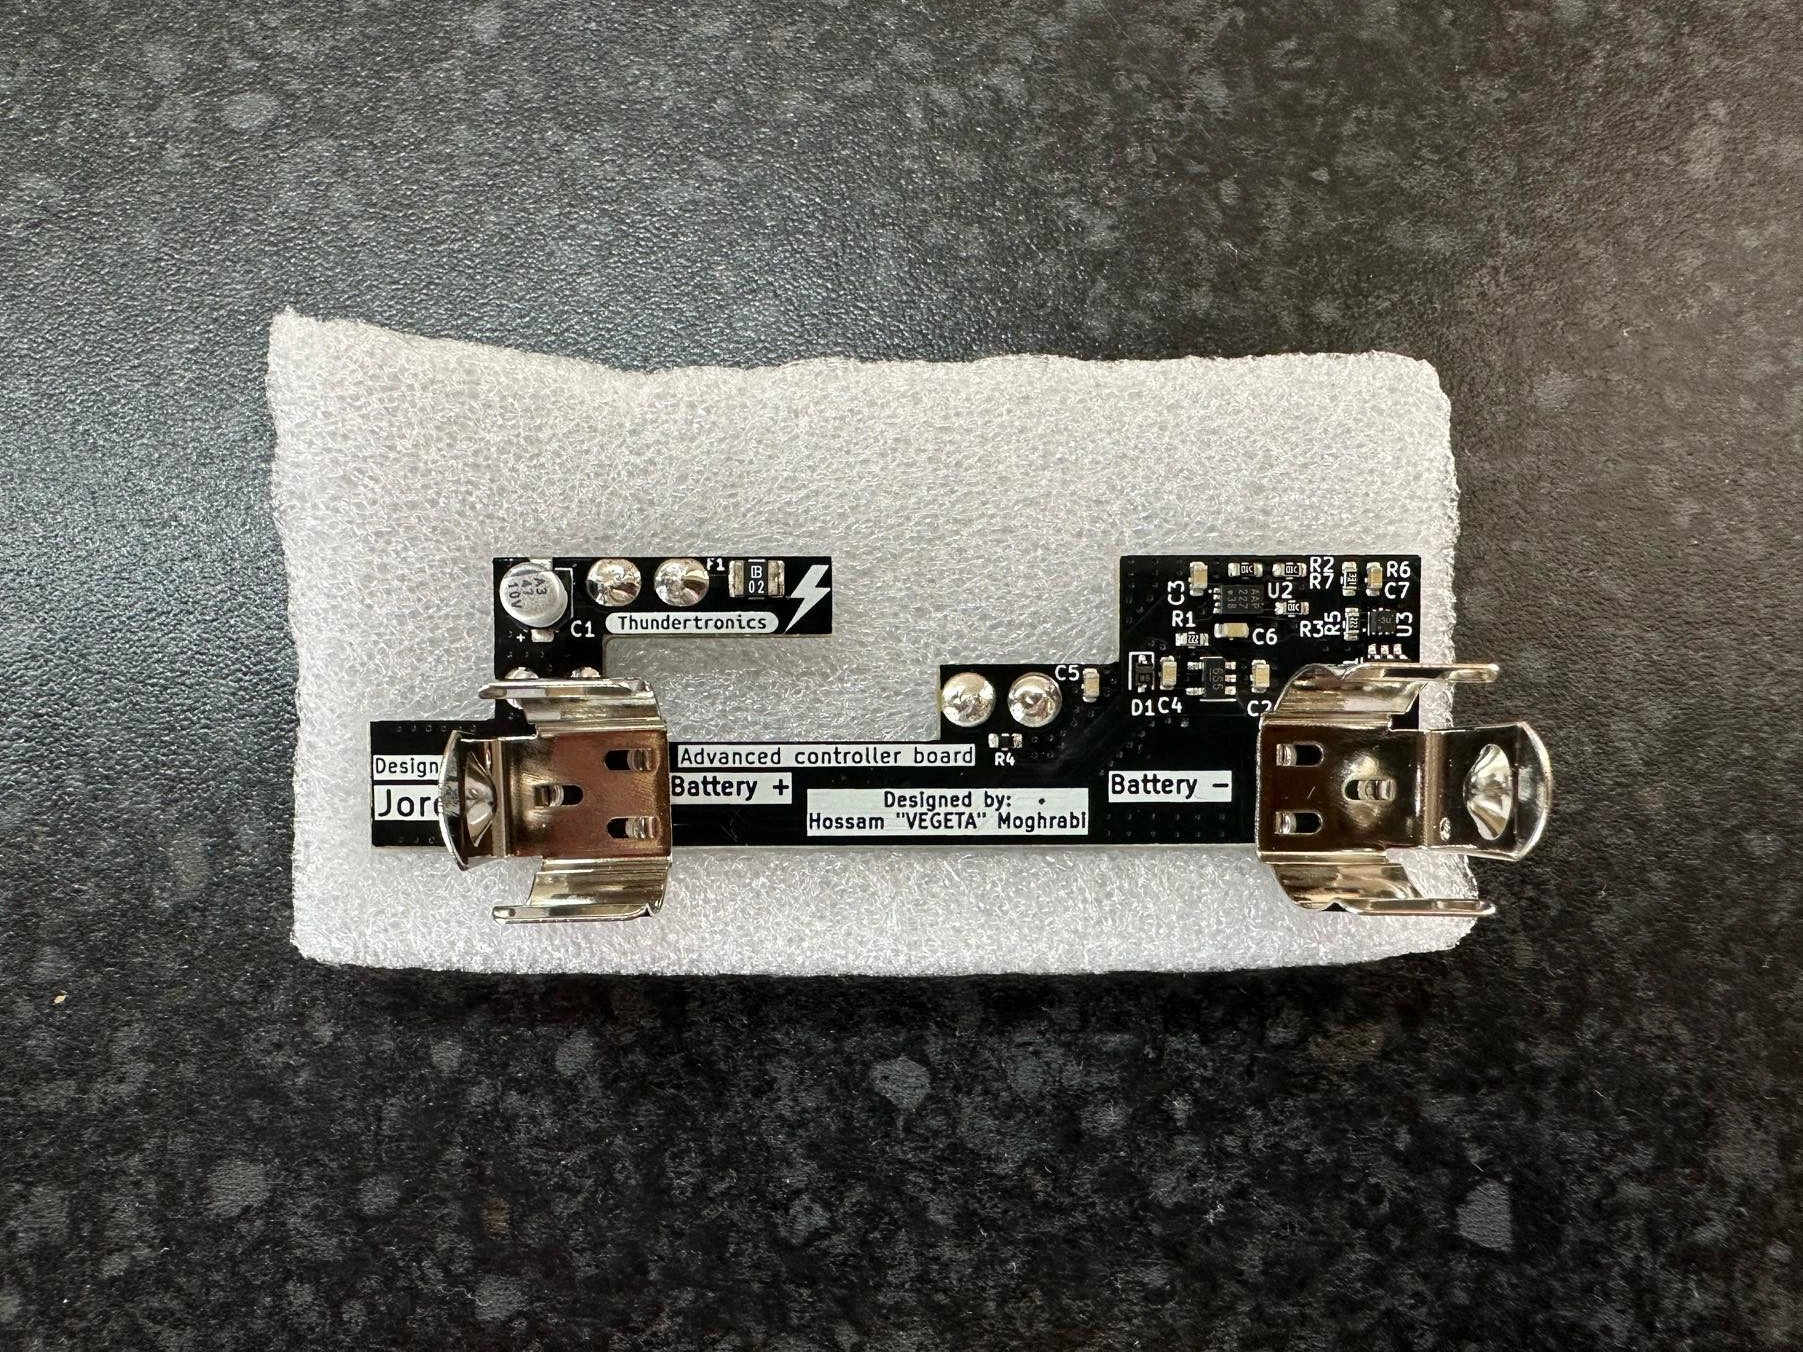
Not used your Dreamcast in a few weeks? Has the battery gone flat AGAIN, forcing you to set the date and time? The Advanced Controller Board for the Dreamcast is the perfect solution to that ever-present problem on the classic Sega console. By replacing the puny ML2032 with a Li-ion 18650 battery (NOT supplied) you can leave your Dreamcast for up to six months before being bugged by the irritating date and time setup screen.
Furthermore, this board also fixes the blown fuse issue that was a design fault in the original Dreamcast. Now, if you attach a controller and a fuse blows on the controller port, simply power cycle your console to restore functionality.
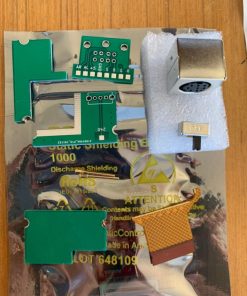
This hardware upgrade is installed on top of the original controller board and adds the following:
- Replaces original battery with Li-ion 18650 battery, with professional charging and protection circuitry (note, due to EU and courier restrictions the battery is NOT supplied with this kit and must be purchased by the customer)
- Replaces old components like capacitors, resistors and fuses, including a resettable fuse for the controller ports
According to test data, charging a typical Li-ion 18650 battery for an hour will charge by about 70-100 mV. This amount should be enough for more than 6 months of battery life.
Installation instructions
Installing this upgrade requires soldering skills, please study the instructions carefully and ensure you are confident enough to carry out the work yourself before ordering. Please do not purchase this part unless you are confident with a soldering iron. While community support may be available in our forum, we cannot give technical support with DIY installations, nor can we offer refunds or compensation for parts damaged due to bad/incorrect DIY installations.
1- De-solder the original battery from the controller board, as well as de-soldering the fuse, capacitor and resistor.
2- Put the pins on the upgrade board in place of resistor, capacitor and fuse, while the black plastic is on top of the controller board, then solder them one by one. After that, trim the pins from the bottom to be flush. Check to make sure there are no shorts or excess solder creating a bridge.
3- Put the board on top of the 6 pins and solder it firmly. If the assembly is too tall and won’t fit when the shell is reinstalled, cut the black plastic before putting the upgrade board in and soldering it. This saves you extra length but overall should not be necessary.
4- The assembly is now ready. install the ribbon cable on Dreamcast, then carefully slide it into the boards assembly and install it. It is a tight fit but it will fit perfectly fine.
5- Secure the board assembly with screws and install the battery, make sure to check that the polarity is correct. This is very important.
6- Now everything is done, the final step is to trim a plastic piece of the top cover as shown in this image. This is to make sure the cover closes perfectly fine and won’t push the battery. Operation, look and feel of the Dreamcast won’t be affected at all. The spring will not be affected since the cut will be next to it, not where it hooks.
7- Close the shell and power on the console, set the time and wait for a minute or so. Now turn it off, then turn it on to verify that it retained the time. Installation is now complete.
The video below is a walkthrough of the installation by the upgrade’s designer, Thundertronics.
Related
| Weight | 25 g |
|---|---|
| Country of Origin | CN |
| hscode | 9504500000 |
| Customs Description | Component for videogame |
Be the first to review “Dreamcast Advanced Controller Board” Cancel reply
Related products
Mod kits and spare parts
€5.00
€5.95 incl. VATMod kits and spare parts
€9.15
€10.89 incl. VATMod kits and spare parts
€19.15
€22.79 incl. VATMod kits and spare parts
€76.50
€91.04 incl. VATMod kits and spare parts
€30.00
€35.70 incl. VATMod kits and spare parts
€16.90
€20.11 incl. VATMod kits and spare parts
€18.00
€21.42 incl. VATArcade
€16.50
€19.64 incl. VAT



Reviews
There are no reviews yet.