NES/SNES De-jitter Kit
€19.15
€22.79 incl. VAT
VAT inclusive price is estimated based on the geolocation of your browser and may be subject to recalculation at checkout. What's VAT?
12 in stock
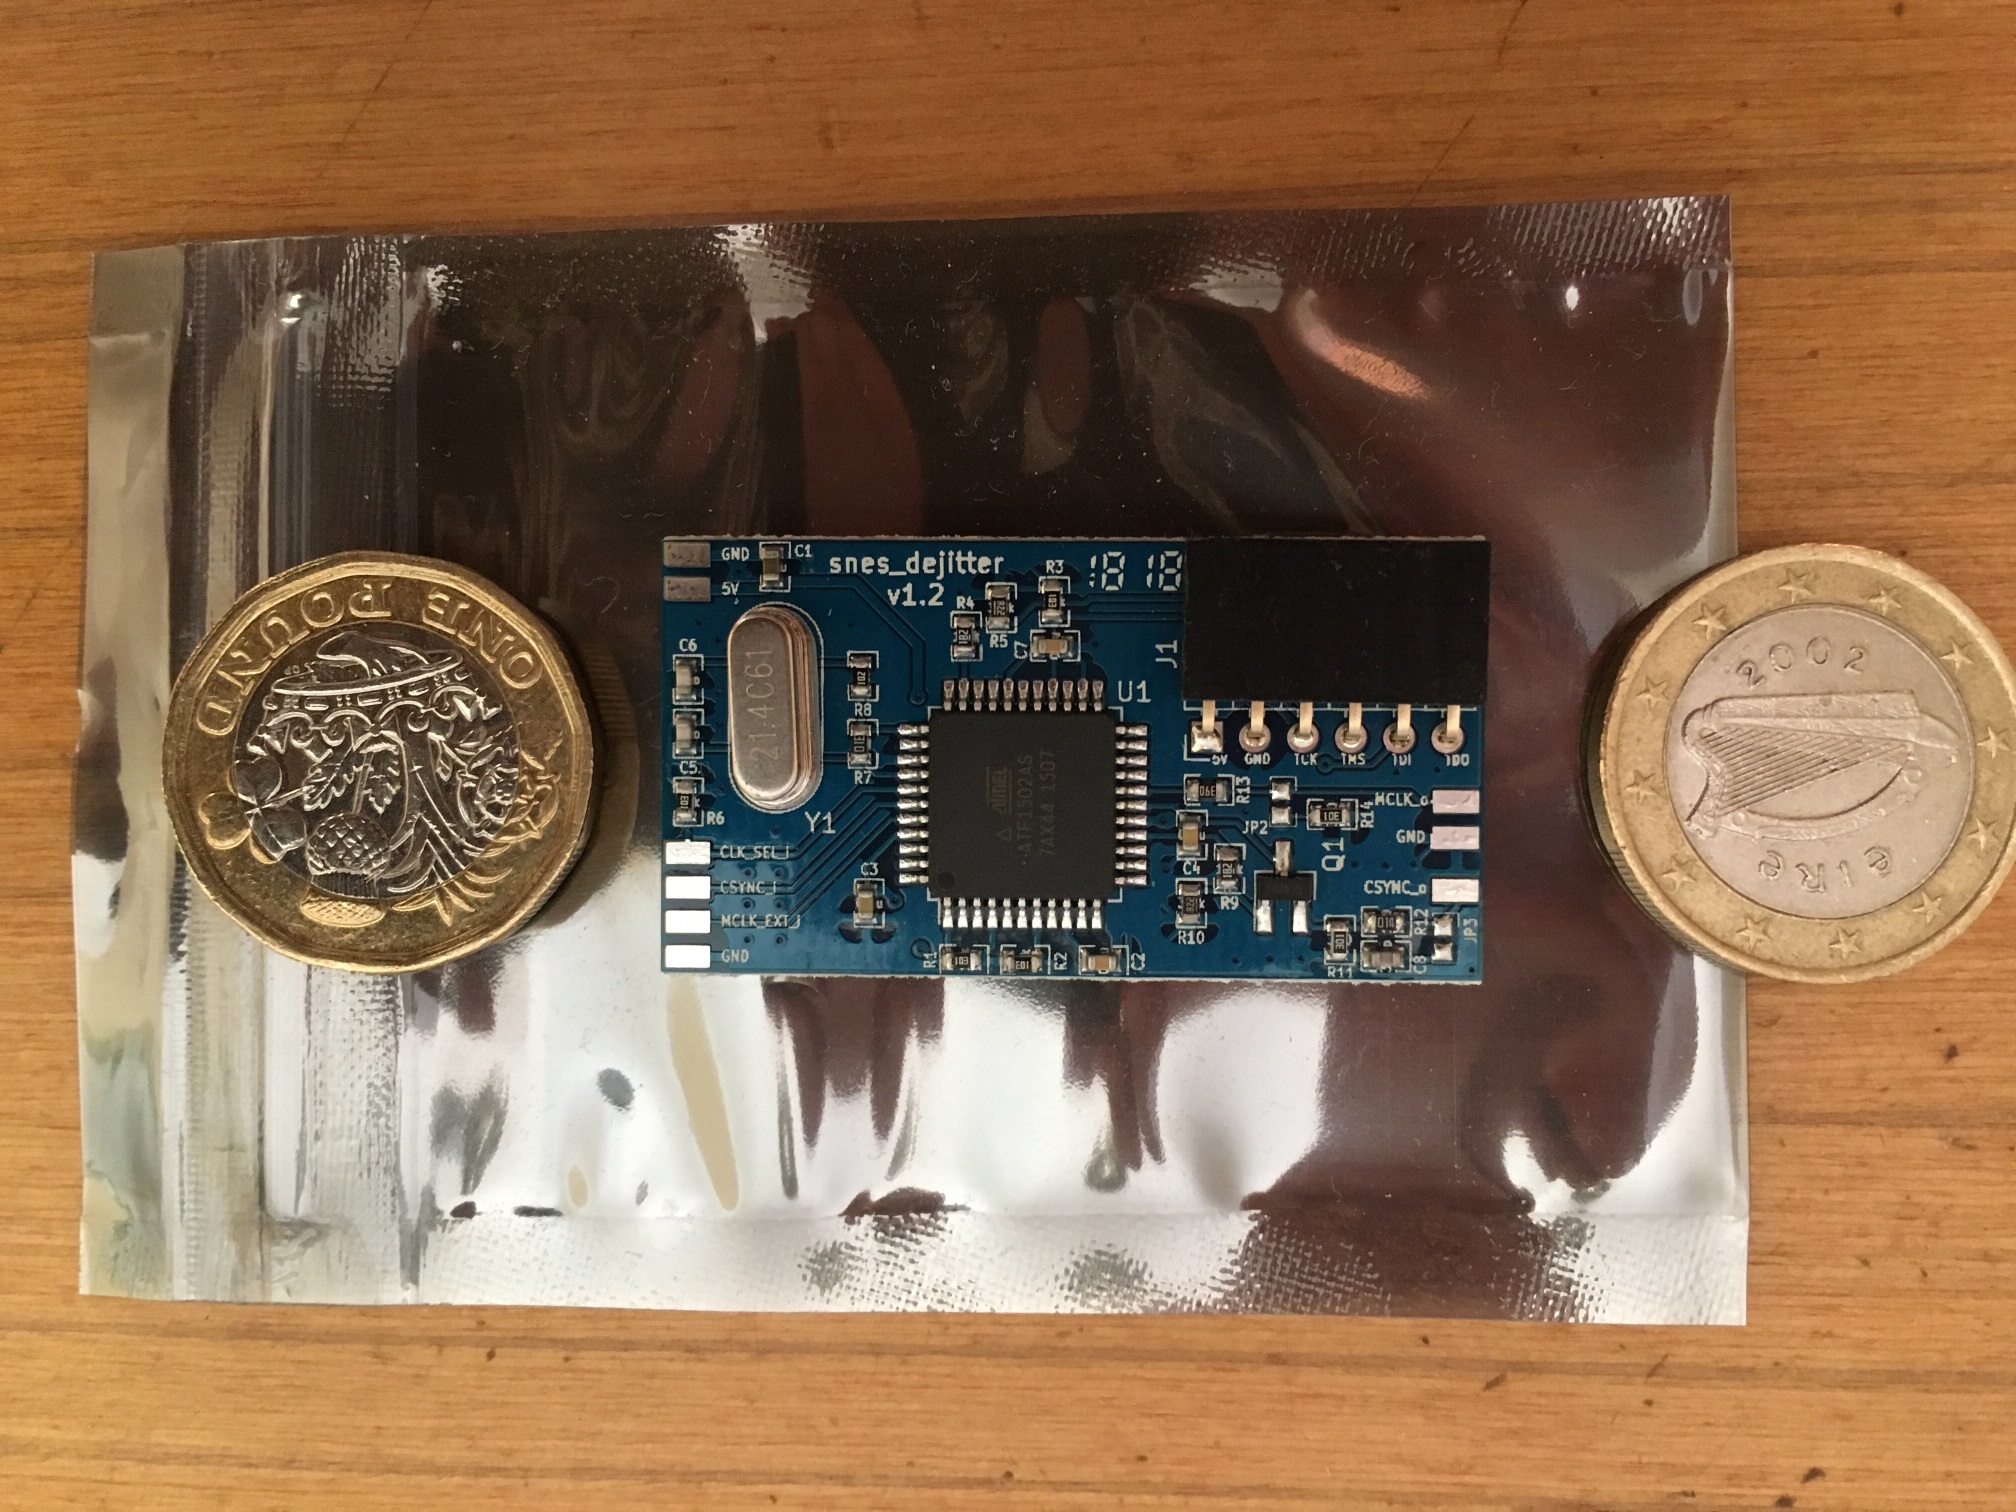
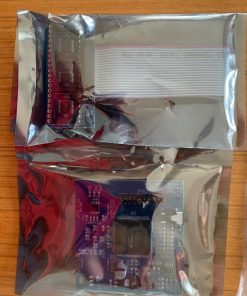
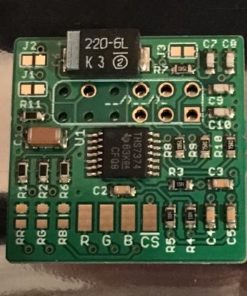
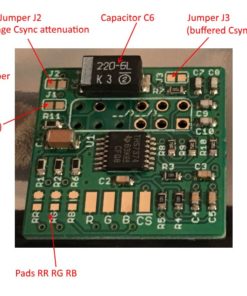
Does your OSSC work perfectly with your television, except when you try to use your RGB modded NES or SNES? Due to a quirk with the NES/SNES hardware design, NES and SNES consoles generate a ‘jittery’ sync signal in 240p mode. This makes their signals challenging for digitizers which use it in clock generation, and especially for devices like OSSC, where the output clock is derived directly from the sync signal. Not every HDTV is affected by this quirk, but if your other consoles are working fine while your NES or SNES has issues, chances are it’s the jitter bug.
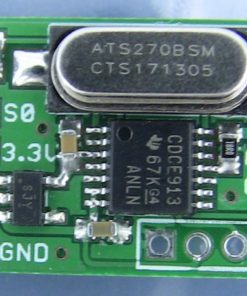
By installing this upgrade, your NES/SNES consoles sync signal will be corrected, meaning it will be compatible when used with the OSSC and any HDTV (assuming your HDTV is compatible with the OSSC in the first place, of course). The dejitter board has also been shown to help with picture stability when using the RetroTINK 5x in some instances too.
Note – The de-jitter mod is not applicable to PAL consoles (unless you have installed a SuperCIC board) and would be dormant if installed in a stock PAL console.
We can now supply the boards with NES or SNES firmware. Simply choose the desired type from the drop down menu.
Installation instructions
For installation instructions and more information, please visit the Github page here. Please note – This is a complex mod and requires some familiarity with the internals of the NES or SNES console. PLEASE only order if you are confident that you can fit the part. Community based technical support is available in our forum here, but unfortunately we cannot provide technical support with DIY installations, nor can we offer refunds for parts damaged due to misuse or incorrect installation.
For NES/Famicom owners there is an excellent installation guide available at the Retro Console Mods blog here. For SNES/Super Famicom owners, check out the guide here (also on Retro Console Mods). If installing in a NES/Famicom. please update the firmware on your NES RGB kit to the latest version.
Thanks to Markus Hiienkari and the retro gaming communities for making this mod possible. This is an open source mod, if you are interested in building your own board, click here.
If you require a fitting service for this part into your Nintendo SNES/Super Famicom console, click here. For installation into a NES/Famicom console, click here.
Related
| Weight | 20 g |
|---|---|
| Country of Origin | CN |
| hscode | 9504500000 |
| Customs Description | Component for videogame |
4 reviews for NES/SNES De-jitter Kit
Add a review Cancel reply
Related products
Mod kits and spare parts
€13.30
€15.83 incl. VATMod kits and spare parts
€30.00
€35.70 incl. VAT€0.30
€0.36 incl. VAT€60.00
€71.40 incl. VATMod kits and spare parts
€45.00
€53.55 incl. VATMod kits and spare parts
€16.00
€19.04 incl. VATMod kits and spare parts
€17.00
€20.23 incl. VATMod kits and spare parts
€16.90
€20.11 incl. VAT



lonewolf –
I purchased the SNES DE-jitter kit for my Japanese Super Famicom for use with the OSSC v1.8 (purchased from here)
Prior to purchasing this mod the Super Famicom would not work on my Sony OLED TV.
It would briefly show the image on 4X mode and go to a black screen. 2X, 3X and 5X modes did nothing.
The installation was fairly easy. I followed the installion guide at https://github.com/marqs85/snes_dejitter/tree/master/installation
My Famicom is the SNS-CPU-RGB-01 PCB which was not included, so I used the SNS-CPU_APU-01 guide. It appears both PCBs are the same.
Now the Super Famicom works flawlessly in 2X, 3X, 4X, 5X and 6X modes.
Very happy with the purchase.
Thanks you VGP for supplying this mod.
Satoru Sato –
I am a person who enjoys retro games in Japan.
We purchased to use NES (red and white FAMICOM) and SNES (Japanese specification) in OSSC.
I think everyone knows the compatibility of the two models with OSSC.
Even in my own environment, each of them was not compatible with SONY HDTV, and the screen dimmed several times in a few seconds.
The blackout was a very unpleasant and unbearable phenomenon, but VGP’s excellent Dejitter-kit solved it.
My Japanese specification SNES (Super FAMICOM) was a motherboard of SNS-CPU-APU-01, so I could find it on the “Github page”, and I was able to confirm the installation and operation safely.
However, with NES (Japanese specification FAMICOM), stable operation was not possible just by attaching it.
Please note that you need to update the NES RGB firmware to the latest version. (The version when I bought NES RGB is 2.2. It is the latest 2.3
The Dejitter-kit works by updating to)
Use Altera USB Blaster or a cheap clone to connect to the JTAG 6 pin of NES RGB and write the necessary files with “Quartus II Progammer” from your PC.
Details can be found on the “etim” site, so you need to be careful. (Introduction of application / How to connect 6 out of 10 wires)
More importantly, you can complete the rewriting of the program by doing “NES power ON” at this time.
This will eliminate the unstable jitter found on early Nintendo equipment.
Now you can have a very comfortable game life.
In my case, “NESRGB mounting board for red and white FC (manufactured by BAKUTEN Kobo / sold by Kaden no Ken-chan)” and “NESRGB AV multi board for red and white FC Rev05” to enable the use of the Japanese specification FAMICON eject lever. (Same dealer) ”was worked at the same time, so I couldn’t follow the installation guide of the Dejitter-kit, so I had a harder time … (especially at the positions of the clock line and #CS line).
Michael Zander –
Works Great/Easy Install on SNES/ NES a Different Story (Admin note – NES version is now available)
I purchased two of these kits: one for my RGB-modded SNES Jr., and another for my RGB-modded NES Top Loader. The kits shipped quickly to the US, and installation instructions are well detailed on Retro Mods Wiki with pictures and coverage of each NES/SNES revision.
As far as soldering this into place, it’s not the easiest thing for beginners, but if you can strip and tin wires then you should be able to follow the retro mods wiki installation guides just fine. If you live outside of Europe and want to save on shipping your console to the UK, this is a doable, low cost alternative to the installation service.
On SNES, this thing works like a charm as soon as you install it. The board is pre-flashed with the requisite firmware, and it looks great on all my digital displays through the OSSC. Additionally, it works perfectly on my capture card (Magewell HDMI Capture Pro), which was my ultimate reason for buying the kit.
NES is a different story. The default firmware on the board does not seem to work with the NES (while I still get all three color channels on my Sony PVM, I do not get sync at all), so you must download a special “NES Fix” firmware from Marqs’ GitHub and flash the board over JTAG. While the GitHub guide makes this sound straightforward, simply finding an FTDI FT2232 JTAG USB debugger is an exercise in patience in itself, seeing as all the compatible devices listed on OpenOCDs websites contain dead links and are seemingly unavailable for purchase on Amazon or eBay. Furthermore, OpenOCD itself is confusing to use and requires knowledge of command line inputs. It does not seem to like either of the USB JTAG debuggers I could find (which weren’t cheap) and refuses to identify the dejitter board.
My point is that unless you already have the hardware and software to flash the board, AND know how to use it, I STRONGLY suggest holding off on buying one of these for NES until a pre-flashed “NES Fix” version becomes available for purchase. (admin note – this IS now available) If I had known it would be such an ordeal to update the firmware, I would’ve only purchased one board for SNES and waited for such an “NES Fix” version to come out.
Samson Wick –
Compatibility is Rock Solid
One day this may be a plug-and-play solution, but for right now it is not. Programming the CPLD with the latest firmware is not a casual activity, and installation instructions for the NES were somewhat nascent. (admin note, boards are available pre-programmed for the NES now). That being said I would rather have to figure the last 10% out for myself than wait another year for a fix until it was refined. I was eventually able to figure out both how to update the CPLD with what I had on hand and how to properly prep the NES-001.
As far as function goes, it has been rock solid so far. The first thing I noticed when piping this through the OSSC is that the refresh rate appears on the display as 60Hz instead of the customary 59.97Hz that I’m used to. The NES now works in OSSC 5X on every TV in my house without any special settings or anything.