SNES Super CIC++ Board
€59.00
€70.21 incl. VAT
VAT inclusive price is estimated based on the geolocation of your browser and may be subject to recalculation at checkout. What's VAT?
Out of stock
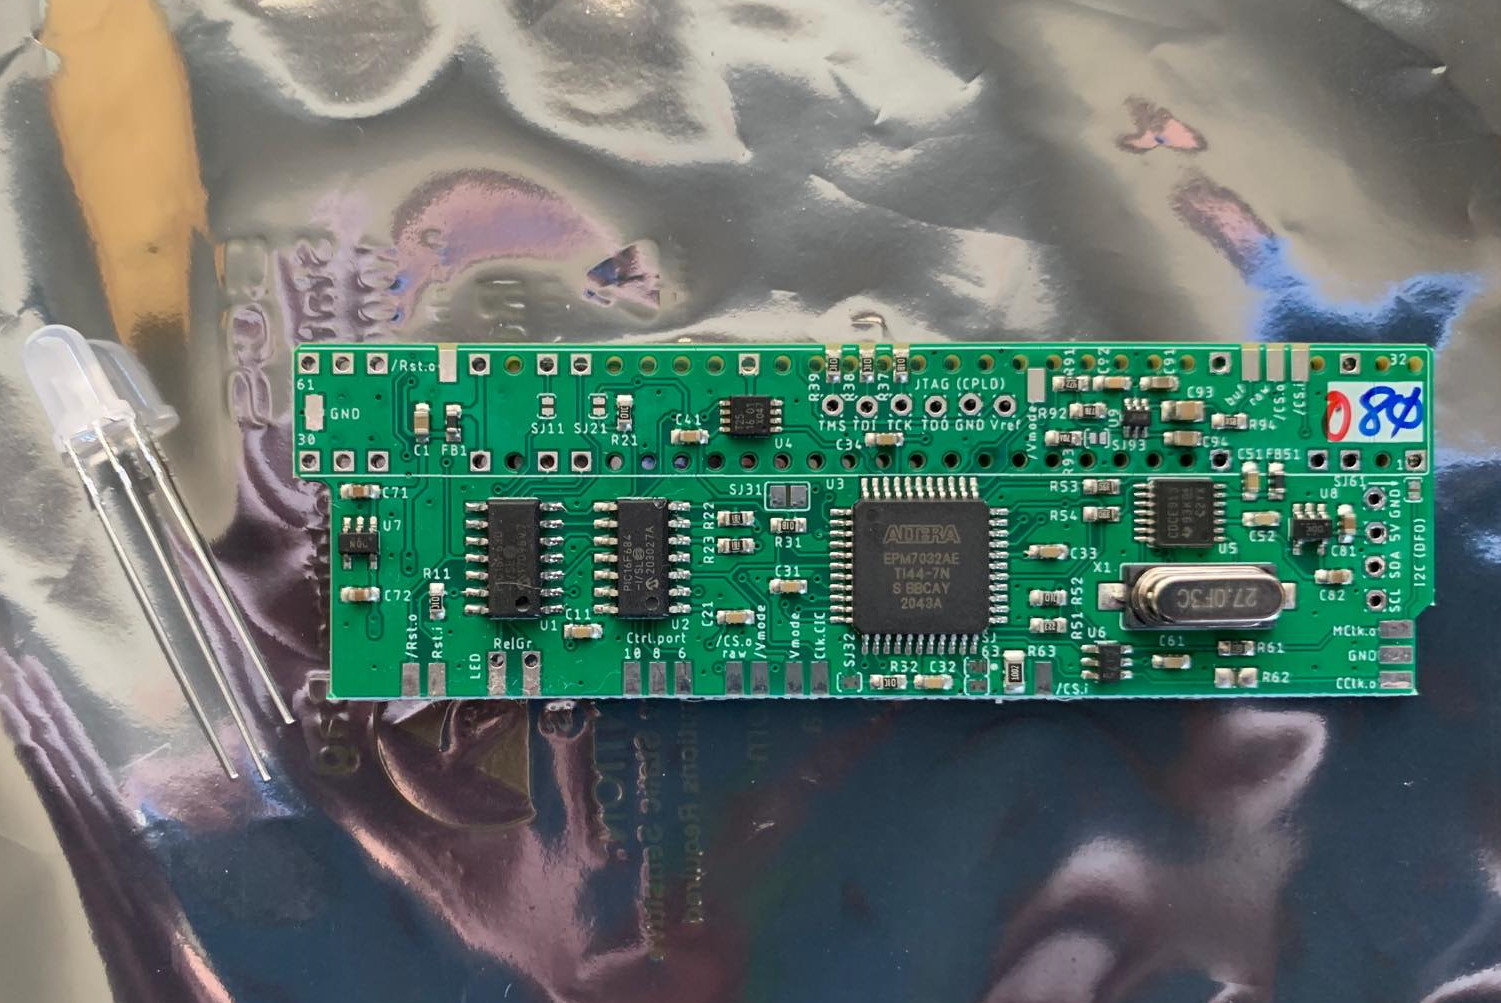
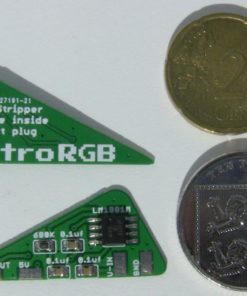
The SNES Super CIC++ upgrade represents the ultimate evolution of the popular SuperCIC region free upgrade for your classic Super Nintendo/Super Famicom console. SuperCIC++ is the best way to upgrade your SNES or Super Famicom console to play all region games. You can change the consoles region by holding the reset button or by using a button combination on the SNES controller. You can also switch between 50Hz, 60Hz, or auto-detect mode, allowing you to play compatible PAL software at 60hz, or at the speed originally intended. This upgrade has 100% compatibility with import games, even those with more sophisticated lock-out technologies.
The SuperCIC++ board has a number of advantages over the older, SuperCIC boards, namely:-
- One version fits all – One board can be fitted to any Super Nintendo or Super Famicom console, one chip or multi-chip.
- Built in De-jitter – The SNES’ off spec sync signal can cause issues with certain TVs and upscalers, most commonly the OSSC but also the RetroTINK 5x in higher resolution output modes. The SuperCIC++ includes a built in De-jitter upgrade, which will fix this problem and ensure maximum compatibility across modern televisions and upscalers.
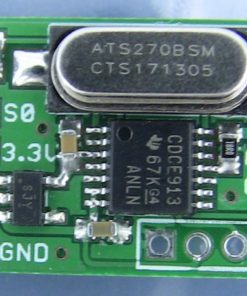
- Built in dual frequency oscillators – No more generating NTSC timings using PAL timing crystals! Simply hacking a PAL SNES to run at 60hz does not magically give you a true NTSC SNES/Super Famicom. This is due to the differences in the oscillators or timing crystals in PAL and NTSC machines. Users of our old SuperCIC boards who were connecting modified PAL consoles to HDTVs (either directly or via an upscaler such as an OSSC) may have experienced stuttering/juddering during scrolling in games when playing in 60hz. This problem is now completely eliminated with the SuperCIC++, which includes a dual frequency oscillator so that the video timings are always 100% compliant with original, region accurate hardware.
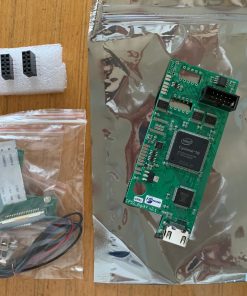
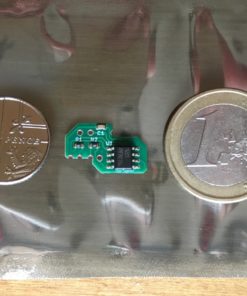
All kits purchased from us come with a fully assembled and programmed SuperCIC++ board and a colour changing power/status LED.
Installation instructions
Please note – This is a complex upgrade and requires some familiarity with the internals of the SNES console. PLEASE only order if you are confident that you can fit the part. We’ve now added a small FAQ to help with common installation problems, but unfortunately we cannot provide technical support with DIY installations, nor can we offer refunds for parts damaged due to misuse or incorrect installation.
SuperCIC++ readme and installation instructions
SNES SuperCIC installation -Frequently asked questions
Some technical support may also be available in our forums.
Operating instructions
SuperCIC user manual PDF – Click here to view/download.
Need a fitting service for this part? Click here.
Thanks to both borti4938 and Ikari_01 for making this upgrade possible. Thanks to BetaGamma Computing for help with programming and testing. This upgrade is based on the open source design by borti4938 and Ikari_01. For more information, see the Github page here.
Related
| Weight | 15 g |
|---|---|
| Country of Origin | CN |
| hscode | 9504500000 |
| Customs Description | Component for video game. |
4 reviews for SNES Super CIC++ Board
Add a review Cancel reply
Related products
€197.40
€234.91 incl. VAT€169.40
€201.59 incl. VATMod kits and spare parts
€76.50
€91.04 incl. VATMod kits and spare parts
€18.00
€21.42 incl. VATMod kits and spare parts
€15.00
€17.85 incl. VATMod kits and spare parts
€13.30
€15.83 incl. VATMod kits and spare parts
€17.00
€20.23 incl. VATMod kits and spare parts
€9.00
€10.71 incl. VAT



Neophytos –
This board includes everything required for the mod with as little soldering as possible. I’m not experienced in soldering and lifting pins, having only done mods on my Mega Drive, but with patience and a little luck i became a proud owner of a modded SNES. This install isn’t too difficult, you just have to take your time, so be patient. All in all an awesome product, if it was a person i would be friends with it.
Milad –
Awesome!
I ordered the PCB for my 1-chip SNES. The installation is relatively easy. Lifting the pins is quite stressful but with this board the wiring that needs to be done is minimal.
I can now seamlessly switch between 50Hz and 60Hz and play my SFC games. I love it!
Richard –
Great Mod!
I received it today and installed it on my PAL SNES with 2 ppu’s.
I don’t have a lot of experience with soldering small pieces like this, but after reading up on the installation process for several months, and following the instructions thoroughly i was able to successfully install the pcb on my snes and it worked like a charm! Thank you for a great mod!
Harrumph –
Great pcb!
First time I attempted a mod of this calibre. The trickiest part is still lifting the PPU pins, no way around that, but the PCB makes is much less of a hassle overall since there is barely any wiring to be done, most solderpoints are made directly to the cartridge slot. Awesome job by Borti and Ikari on the board design!